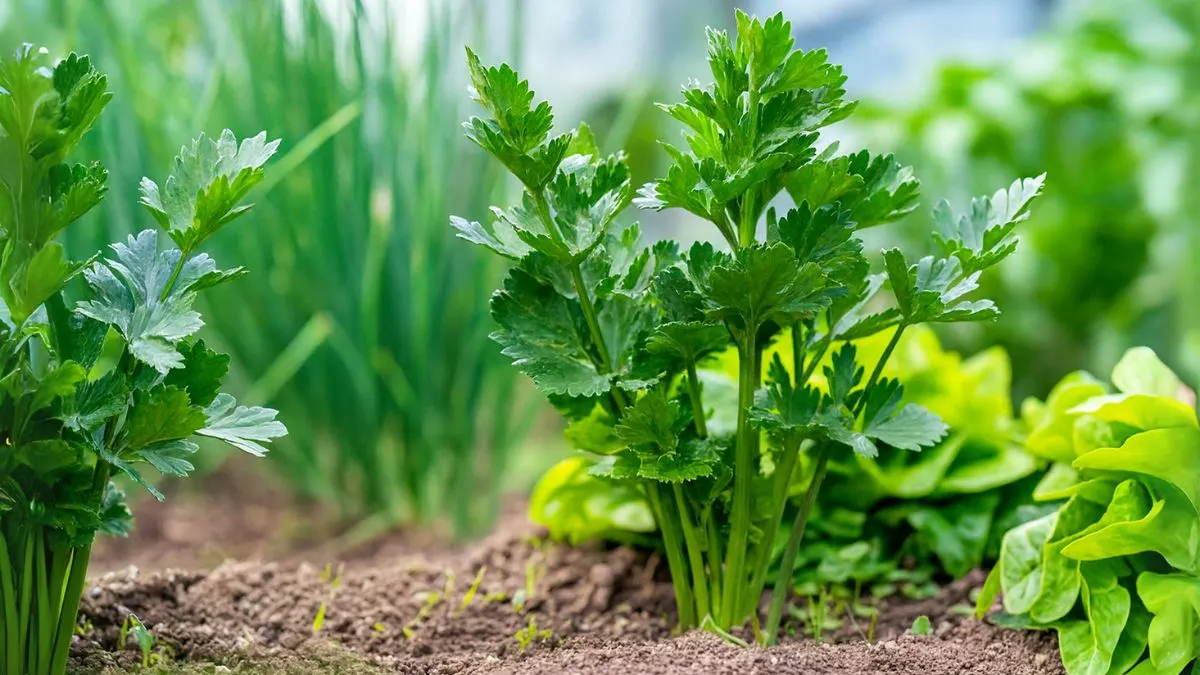
Celery is one of those versatile vegetables that finds its way into soups, salads, juices, and healthy snacks. But did you know you don’t have to depend on the grocery store for fresh stalks? You can grow it at home—even in small spaces—with the right techniques.
The good news is, you can choose your planting method for growing celery: either start from seeds or regrow a store-bought stalk by placing its base in water. This makes celery one of the most beginner-friendly vegetables for home gardeners.
In this blog, I’ll walk you through each method, from soil prep to harvesting, with tips I’ve learned from personal gardening experiences.
Step 1: Choosing Your Planting Method

There are two main ways to get started:
🌱 Starting from Seeds
- Oregano-sized celery seeds are tiny and need gentle handling.
- Start from seeds indoors 8–10 weeks before the last frost.
- Sow them shallowly in seed trays and cover lightly with soil.
- Keep soil consistently moist until germination (about 2–3 weeks).
🌱 Regrowing from Store-Bought Celery
One of the easiest tricks I’ve used is to let the root of a piece of celery sit in water in your windowsill.
- Set the celery in a shallow glass bowl or jar, ensuring just the base is submerged.
- Within days, you’ll see fresh green shoots.
- Once roots develop, transplant it into a pot or directly into garden soil.
Both methods are reliable, but beginners often find regrowing store-bought celery the most satisfying since it shows results quickly.
Also Read: Skip Supplements. THIS Food Gives You 32g of Fiber Naturally!
Step 2: Preparing the Soil
Celery is a heavy feeder, meaning it demands nutrient-rich soil.
- Celery thrives in full sun with fertile, well-drained soil rich in organic matter.
- Add compost or aged manure to enrich the soil.
- Keep soil evenly moist—dry spells make the stalks stringy and bitter.
In my garden, I’ve noticed that celery responds really well to raised beds since they provide both drainage and consistent moisture.
Step 3: Transplanting Seedlings
If you’re starting from seeds, wait until you have good sized seedlings that have about 4 – 5 leaves before transplanting.
- Harden them off by gradually exposing them to outdoor conditions for a week.
- Plant 8–10 inches apart to give stalks space to thicken.
- Keep rows about 2 feet apart for airflow.
Step 4: Watering and Fertilizing
Celery is thirsty! Consistent watering is key.
- Water deeply 3–4 times per week in hot weather.
- Mulch around the base to retain soil moisture.
- Use a nitrogen-rich fertilizer every 2–3 weeks to encourage lush, leafy stalks.
Step 5: Sunlight Requirements
- Celery thrives in full sun but can handle partial shade, especially in very hot climates.
- For container growers, moving pots around to catch morning sun and avoid afternoon heat is a great trick.
Also Read: How to Grow Pumpkins for a Big, Festive Fall Harvest
Step 6: Pest and Disease Management
Celery can be attacked by aphids, leaf miners, and slugs.
Pest/Disease |
Signs |
Solution |
Aphids |
Sticky residue, curled leaves |
Spray with neem oil or soapy water |
Slugs/Snails |
Holes in stalks and leaves |
Use copper tape or handpick at night |
Leaf Blight |
Yellow/brown spots |
Avoid overhead watering, improve airflow |
I personally lost a batch of celery one summer to slugs, so now I always use mulch and keep an eye out during humid nights.
Step 7: Harvesting Celery
- Celery is ready to harvest 85–120 days after planting.
- Harvest when stalks are firm and 8–10 inches tall.
- Cut individual stalks as needed, or harvest the whole bunch by cutting at soil level.
Pro tip: If you cut just the outer stalks, the plant continues producing new ones in the center—giving you a longer harvest season.
Health Benefits of Celery
Fresh homegrown celery isn’t just delicious—it’s a powerhouse of nutrients:
- Rich in antioxidants and vitamin K.
- Low in calories but high in fiber—perfect for weight management.
- Acts as a natural diuretic, reducing water retention.
- Boosts hydration, as it’s 95% water.
Adding homegrown celery to smoothies and soups has become my go-to hack for healthier eating.
Also Read: How to Grow Ageratum (Flossflower) for Vibrant Borders & Beds
Growing Factor |
Requirement |
Planting Methods |
Start from seeds or regrow from stalk |
Sunlight |
Full sun (6–8 hrs), tolerates partial shade |
Soil Type |
Fertile, well-drained, rich in organic matter |
Watering |
Frequent and consistent, keep soil evenly moist |
Harvest Time |
85–120 days after planting |
Personal Experience with Regrowing Celery
One winter, I tried to set the celery in a shallow glass bowl or jar on my kitchen windowsill just for fun. To my surprise, within a week, little green shoots appeared. After two weeks, roots had formed, and I transplanted it into a pot. Not only did it survive, but it thrived, and I was cutting fresh stalks in under three months.
That experiment taught me that celery is one of the most forgiving plants for beginners—you just need patience and consistent care.
Whether you live in Canada, the USA, or anywhere else in the world, celery adapts well to backyard gardens, raised beds, or even balcony containers. Start today, and you’ll soon be adding fresh celery from your own garden to every meal.


