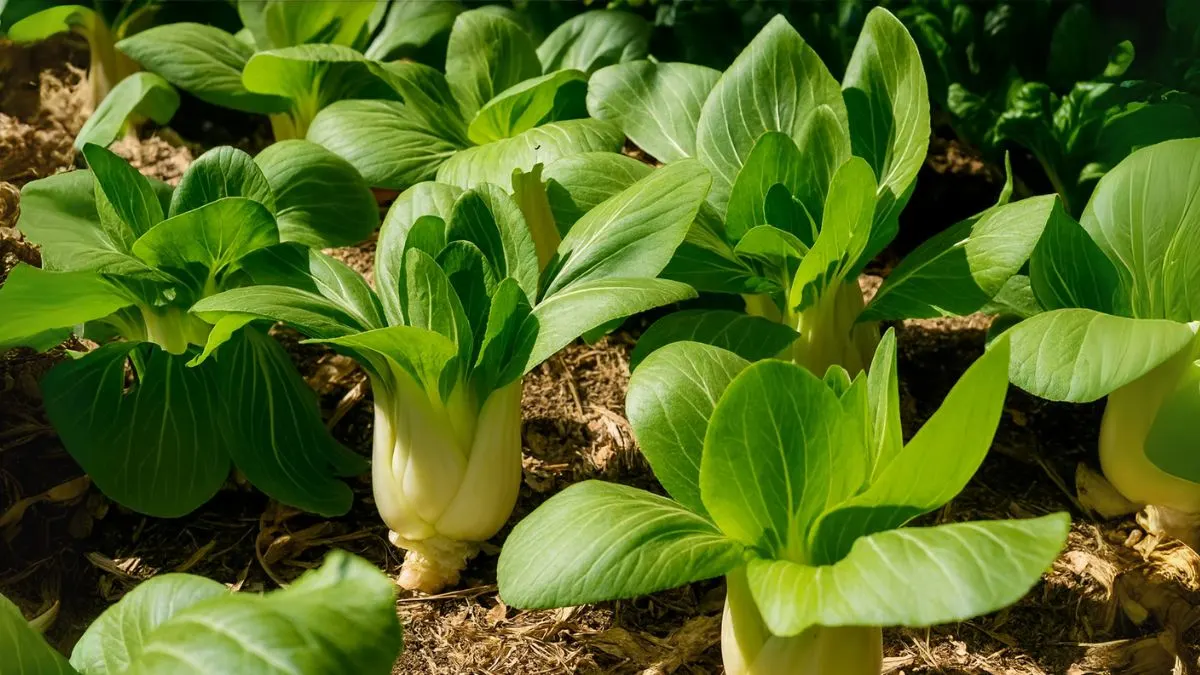
Bok choy, also known as pak choi or Chinese cabbage, is one of the most rewarding vegetables to grow in your kitchen garden. Its tender green leaves and crisp white stalks not only add flavor to stir-fries, soups, and salads, but they’re also packed with vitamins A, C, and K.
The best part? Bok choy grows quickly, matures in just 45–60 days, and doesn’t need a huge space. Whether you have a backyard garden, balcony pots, or even indoor troughs, you can easily add this Asian leafy green to your harvest.
Step 1: Choosing the Right Time to Plant
Timing is everything with bok choy.
- You can plant seeds in spring or fall in loose, compost-rich soil, ensuring 6–8 inches of spacing and consistent moisture.
- Bok choy grows best in cool seasons and prefers temperatures between 50–70°F.
- You can also plant seed directly in the garden in July, especially if you want a fall harvest.
Personally, I’ve had the best results starting bok choy in late summer for a crisp autumn harvest—it seems less prone to bolting in cooler months.
Step 2: Preparing Soil and Containers
Bok choy is versatile—you can grow it directly in the ground or in containers.
- For indoor setups, just add regular soil to a shallow trough with holes in the bottom to ensure proper drainage.
- Outdoors, loosen the soil to at least 8 inches deep and enrich it with compost or organic fertilizer.
- The soil should retain moisture but drain well to prevent root rot.
If you’re new to gardening, raised beds or large containers are an excellent choice for bok choy.
Also Read: How to Grow Pumpkins for a Big, Festive Fall Harvest
Step 3: Sowing Seeds
Bok choy has small seeds that are easy to sow.
- Plant seeds ¼ inch deep and cover lightly with soil.
- Keep the soil consistently moist until germination, which usually happens in 7–10 days.
- Thin seedlings so that they are 6–8 inches apart, giving each plant enough room to grow.
If you prefer, you can also start seeds indoors and transplant them once they have 3–4 true leaves.
Step 4: Sunlight and Temperature
Like most leafy greens, bok choy needs the right balance of light and shade.
- Bok choy thrives in sunny areas with at least 5–6 hours of direct sunlight.
- In very hot regions, partial shade during the afternoon helps prevent bolting (premature flowering).
- In colder regions like Canada or northern USA, choose the sunniest spot possible.
I’ve found that morning sun and afternoon shade give the best results in my kitchen garden.
Step 5: Watering and Feeding
Moisture is crucial for bok choy’s tender leaves.
- Water deeply 2–3 times per week, adjusting for weather conditions.
- Mulch around the base of plants to retain soil moisture.
- Feed every 2–3 weeks with a nitrogen-rich fertilizer or compost tea for lush, leafy growth.
Remember: inconsistent watering can make bok choy bitter, so keep the soil evenly moist.
Also Read: Why Aglaonema Evergreen Is the Perfect Indoor Plant for Beginners
Step 6: Companion Planting
Bok choy grows well with other vegetables and herbs.
Companion Plants |
Benefits |
Carrots & Beets |
Use vertical space efficiently |
Onions & Garlic |
Repel pests naturally |
Dill & Basil |
Improve flavor and attract pollinators |
Avoid planting bok choy near strawberries or tomatoes, as they may compete for nutrients.
Step 7: Common Pests and Problems
Unfortunately, bok choy can attract pests like cabbage worms, aphids, and flea beetles.
- Use row covers to protect seedlings from insects.
- Spray neem oil or soapy water to deter aphids.
- Rotate crops each season to reduce soil-borne diseases.
In my own garden, I once lost half a patch to flea beetles. A simple floating row cover solved the problem, and I haven’t looked back since.
Step 8: Harvesting Bok Choy
One of the joys of growing bok choy is its quick harvest cycle.
- Harvest baby bok choy in 30–35 days for tender greens.
- Mature bok choy is ready in 45–60 days when stalks are firm and leaves are lush.
- You can either cut the entire head at soil level or harvest outer leaves and let the plant continue producing.
Freshly harvested bok choy is crisp, juicy, and far superior to store-bought versions.
Health Benefits of Bok Choy
Bok choy isn’t just delicious—it’s a nutrient powerhouse.
- Rich in vitamins A, C, and K.
- Contains calcium and iron for stronger bones.
- Low in calories, making it perfect for weight management.
- Packed with antioxidants that boost immunity.
Adding homegrown bok choy to soups or stir-fries has become my favorite way to include more greens in my diet.
Also Read: Why Avocados Are Called Nature’s Butter Fruit
Quick Reference Table
Factor |
Requirement |
Planting Season |
Spring, Fall, or July for late crops |
Sunlight |
5–6 hours of direct sunlight daily |
Soil Type |
Loose, compost-rich, well-drained |
Spacing |
6–8 inches apart |
Harvest Time |
30–60 days depending on maturity |
Start small with a shallow trough with holes in the bottom on your balcony or go big in your backyard. Either way, fresh bok choy is just a few weeks away.


