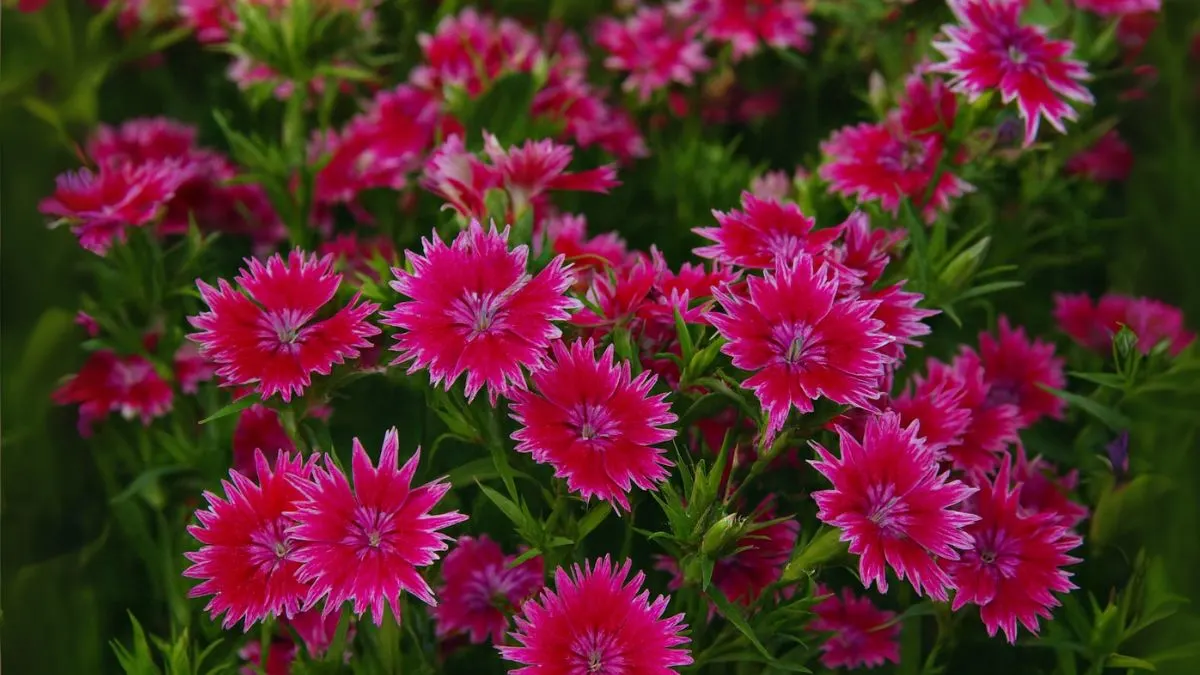
Few flowers bring as much charm and color to a garden as phlox. Known for their stunning clusters of blooms, they are a gardener’s favorite because they’re hardy, versatile, and capable of filling any space with a carpet of colors. Whether you’re planting in garden beds, borders, or containers, phlox will reward you with a dazzling show.
This guide walks you step by step through how to sow, plant, and care for phlox so you can enjoy their beauty season after season.
Step 1: Choosing the Right Type of Phlox
Phlox come in several varieties, from creeping groundcovers to tall garden types. If you’re looking for early spring coverage, creeping phlox is ideal. For mid-to-late summer blooms, tall garden phlox will not disappoint.
Regardless of type, remember that phlox prefer soil that is nutrient rich and evenly moist. This ensures strong roots and fuller blooms. Adding compost before planting gives them a healthy head start.
Step 2: Planting Bare Root Phlox
If you’ve ordered them online or bought them at a nursery, chances are you’ll receive them as bare root plants. Timing here is crucial. Bare root phlox should be planted immediately upon receiving them to prevent roots from drying out.
When planting, gently spread the roots, position them upright, and bury them under the soil (or vermiculite or gravel) so they are snugly covered. This helps retain moisture while still allowing air circulation.
Also Read: 4 Brilliant Gardening Hacks with Shredded Paper
Step 3: Timing is Everything
They thrive when planted at the right time of year. Always plant in early spring, around the time of last frost. This ensures the soil is warm enough to encourage growth but not so hot that young plants struggle.
If you’re sowing seeds indoors, start them about 6-8 weeks before your region’s last frost date. Transplant seedlings outdoors once the danger of frost has passed.
Step 4: Providing Adequate Sunlight
To get the best from your plants, always provide adequate sunlight. Phlox need at least 6 hours of direct sun daily to produce abundant blooms. However, in areas with very hot summers, a little afternoon shade can prevent stress and extend blooming.
Sun exposure also reduces disease risks like powdery mildew, which phlox can sometimes face.
Step 5: Watering and Soil Care
Healthy soil is the backbone of beautiful flowers. As mentioned, phlox prefer soil that is nutrient rich and evenly moist, but they don’t like soggy conditions. Overwatering can lead to root rot.
A practical tip: water deeply but less frequently, allowing the soil to dry slightly between sessions. Mulching around the plants can also help retain moisture and regulate soil temperature.
Also Read: Transform Shady Borders with These Stunning Plants
Step 6: Maintenance and Care
Phlox don’t demand much once established, but some attention will keep them thriving.
- Deadhead spent flowers to encourage more blooms.
- Thin out crowded stems to improve airflow.
- Watch for pests like spider mites or powdery mildew—address them early with organic solutions.
A small personal note: When I first grew tall garden phlox, I neglected thinning. By mid-summer, the plants looked lush but airflow was poor, and mildew appeared. The following year, I pruned and spaced them better, and the results were dramatically healthier plants.
Quick Phlox Planting Reference Table
Step |
Action |
Why It Matters |
Soil Prep |
Phlox prefer soil that is nutrient rich and evenly moist |
Strong roots, healthy blooms |
Planting |
Bare root phlox should be planted immediately upon receiving |
Prevents roots from drying |
Covering |
Bury them under the soil (or vermiculite or gravel) |
Helps retain moisture and stability |
Timing |
Plant in early spring, around the time of last frost |
Ensures strong early growth |
Light |
Provide adequate sunlight |
Boosts flowering and prevents disease |
Step 7: Enjoying the Blooms
Once established, phlox will reward you with continuous flowers, often lasting weeks. Their wide range of colors—from pinks and purples to whites and blues—can be used to brighten beds, edge walkways, or cascade beautifully from containers.
And here’s the best part: they attract butterflies and hummingbirds, adding even more life to your garden.
Phlox are the kind of plants that give back generously for relatively little effort. All they need is the right soil, timely planting, and consistent sunlight. So why not start today? Pick your favorite variety, prepare your garden, and let the beauty of phlox transform your space.


