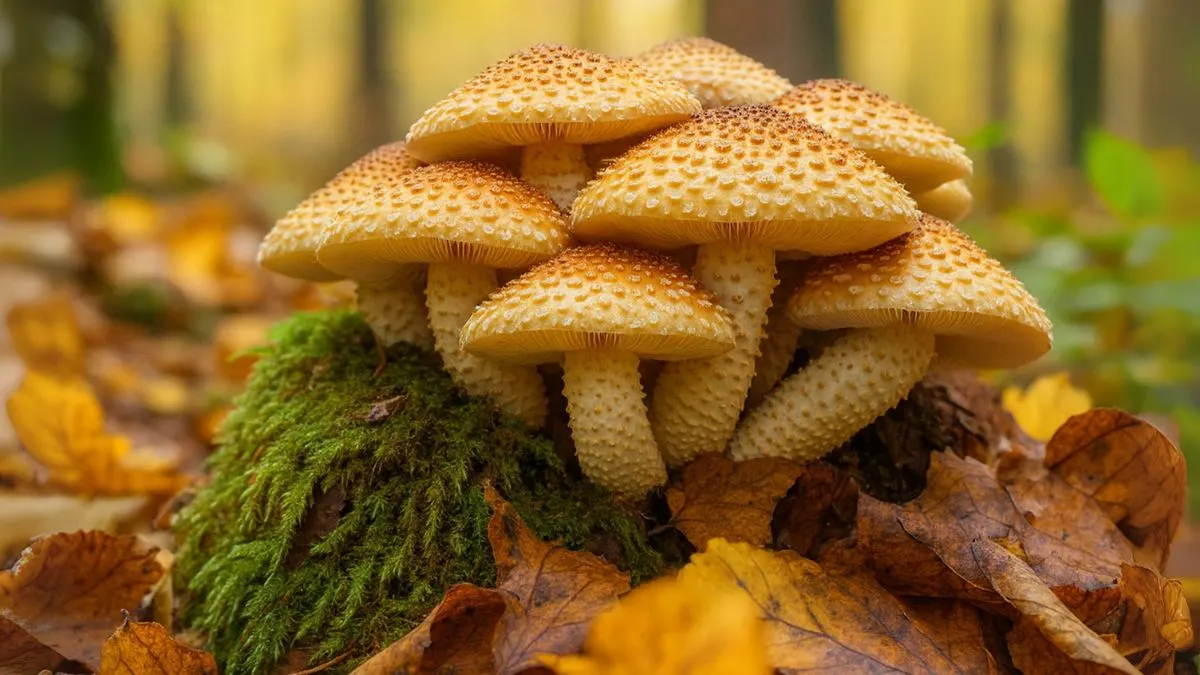
Mushroom are not just delicious; they’re also incredibly rewarding to grow. From hearty portobellos to delicate oyster mushrooms, these fungi can transform everyday meals into gourmet experiences. Unlike most garden vegetables, mushrooms don’t need sunlight. Instead, they thrive in dark, damp, and carefully controlled environments.
In this guide, I’ll walk you through everything you need to know—from choosing the right space to harvesting your first flush. Along the way, I’ll also share some lessons from my own experience of trying indoor mushroom cultivation.
Why Grow Mushrooms at Home?
- Fresh mushrooms taste better and have higher nutritional value than store-bought ones.
- You can enjoy harvests all year round with the right setup.
- Mushroom growing requires less space compared to traditional gardening.
- A perfect project for urban gardeners in Canada, the USA, and worldwide.
When I first tried growing oyster mushrooms on a small shelf unit, I was surprised by how little space they needed and how quickly they multiplied.
Step 1: Choose a Suitable Space
The first and most critical step is to choose a suitable space with controlled temperature and humidity.
- Mushrooms prefer cool, dark, and damp environments. Basements, garages, or even closets can work.
- Ideal temperature range: 55–65°F (13–18°C) for most varieties.
- Humidity should stay around 80–90% to encourage strong mycelium growth.
If you’re in a dry region, use a humidifier or misting bottle to keep conditions stable.
Also Read: Morel Mushrooms: The Gourmet Treasure You Can Grow in Your Backyard
Step 2: Keep a Clean Environment
Mushrooms are highly sensitive to contamination.
- Always work in a clean environment.
- Wash hands thoroughly before handling spores or substrate.
- Sanitize tools, containers, and surfaces with rubbing alcohol.
- Avoid exposing the growing medium to dust or unfiltered air.
I once lost an entire batch of shiitake mushrooms to mold simply because I skipped sterilizing my containers. Lesson learned—the cleaner the setup, the better the yield.
Step 3: Select Your Mushroom Variety
Not all mushrooms are equally easy to grow.
- Oyster mushrooms – Fast-growing and beginner-friendly.
- Button mushrooms – Popular and versatile for cooking.
- Shiitake mushrooms – Rich flavor, slightly more advanced.
- Lion’s Mane – Unique in both taste and health benefits.
Beginners usually start with oyster mushrooms because they’re forgiving and grow quickly in various substrates.
Step 4: Prepare the Substrate
Mushrooms need a growing medium called substrate.
- Common options: straw, sawdust, coffee grounds, or composted manure.
- Sterilize or pasteurize the substrate to kill unwanted bacteria.
- Mix mushroom spawn into the substrate evenly for best results.
For example, I used coffee grounds collected from a local café, which worked surprisingly well for oyster mushrooms.
Also Read: Why Horsetails Are the Perfect Plant for Wet Areas, Fences & Backyard Screens
Step 5: Inoculation and Incubation
- Spread spawn evenly through the prepared substrate.
- Place in bags, trays, or containers with small holes for air exchange.
- Store in a dark, warm area for 2–3 weeks.
During this incubation stage, white mycelium threads will spread across the substrate—this is a sign of healthy growth.
Step 6: Fruiting Conditions
Once the substrate is colonized, move it to fruiting conditions:
- Provide fresh air circulation.
- Keep humidity levels high (mist daily or use a humidifier).
- Maintain cooler temperatures depending on the mushroom type.
Within a few days, small mushroom pins appear and quickly develop into mature mushrooms.
Harvesting Your Mushrooms
- Mushrooms are usually ready to harvest within 3–4 weeks of inoculation.
- Gently twist and pull the mushrooms when caps are fully opened.
- Avoid waiting too long—overripe mushrooms release spores and lose flavor.
Freshly harvested mushrooms can be refrigerated for up to a week or dried for longer storage.
Also Read: How to Grow Pumpkins for a Big, Festive Fall Harvest
Key Requirements at a Glance
Step |
Requirements |
Space |
Choose a suitable space with controlled temperature and humidity |
Cleanliness |
Keeping a clean environment to prevent contamination |
Substrate |
Straw, sawdust, coffee grounds, compost |
Light |
Minimal light—indirect or low levels only |
Humidity |
80–90% during fruiting |
Harvest |
3–4 weeks after inoculation |
Common Problems and Fixes
- Contamination (mold, bacteria): Always sterilize substrate and tools.
- Slow growth: Temperature or humidity may be off—adjust conditions.
- Small harvests: Poor-quality spawn or insufficient substrate.
Personal Experience
When I first started, I underestimated how important it was to choose a suitable space with controlled temperature and humidity. My garage was too dry, and the mushrooms barely grew. Switching to a basement and misting regularly made all the difference. By focusing on keeping a clean environment and maintaining steady humidity, I finally harvested a healthy flush of oyster mushrooms.
Growing mushrooms at home is exciting, rewarding, and surprisingly simple when you follow the right steps. Once you get the hang of it, you’ll never look at store-bought mushrooms the same way again.


