Few flowers bring as much joy to a garden as the hydrangea. With their large, fluffy blooms in shades of pink, blue, and white, they can transform a dull corner into a vibrant display of color. The best part? Planting hydrangeas isn’t complicated if you follow the right steps.
I still remember the first time I planted one at home. I was nervous about whether it would thrive, but once I got the basics right, the results were incredible. Let’s dive into this easy-to-follow guide to growing these stunning plants.
Step 1: Choose the Right Location
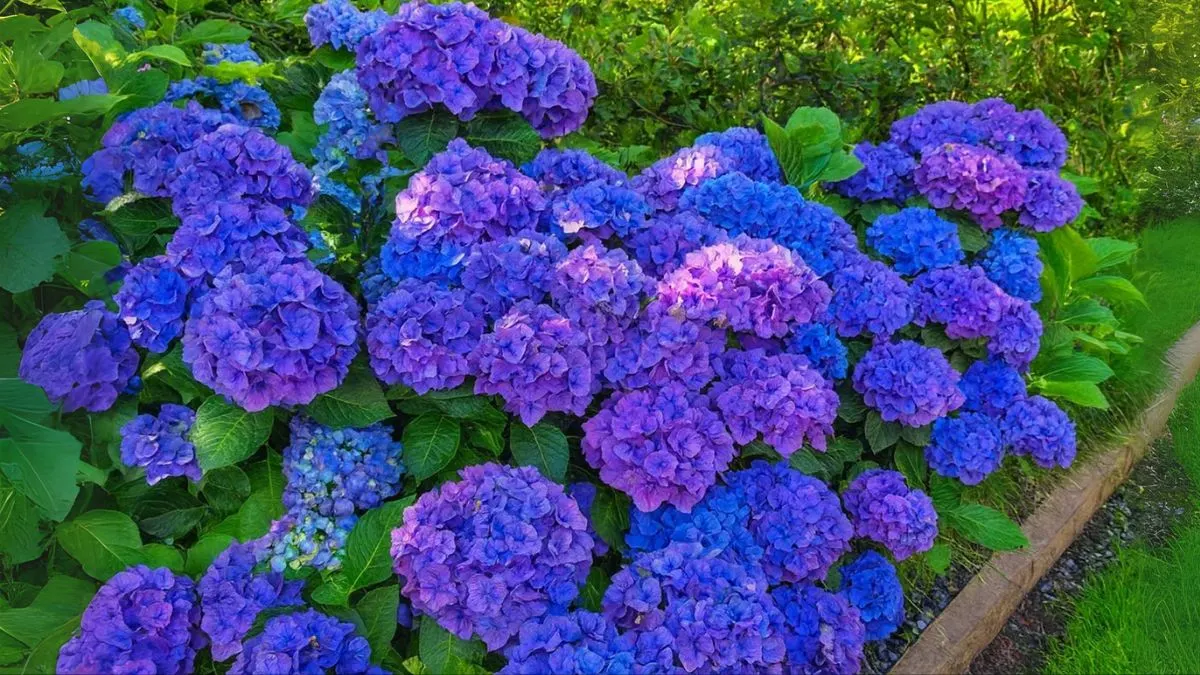
One of the most important decisions is placement. Hydrangeas flourish in porous, moist soil with a fair amount of compost. They dislike overly dry or soggy conditions, so soil preparation is key.
Also, choose a semi or part-shade position, protected from the hot afternoon sun. Morning sunlight is ideal, but direct harsh afternoon rays can scorch the leaves. If you’re in warmer regions like southern USA, this step becomes even more crucial.
Step 2: Prepare the Soil
Good soil is the foundation of healthy hydrangeas. Instead of using heavy garden dirt, use a bagged potting mix rather than garden soil. Potting mixes are airy, rich in nutrients, and allow water to drain properly, preventing root rot.
Mix in organic compost or peat moss to improve texture. This creates the perfect environment for your plants to establish strong roots.
Also Read: Riberry Fruit: The Exotic Superfood You’ve Probably Never Tried
Step 3: Planting Hydrangeas
When it comes to planting, follow this golden rule: dig a hole that’s about 2 times wider than the root ball and about as deep. The extra width gives roots room to spread and anchor themselves.
Gently remove the plant from its container and loosen the roots. Place it in the hole, making sure the top of the root ball is level with the soil surface. Fill the hole with your prepared potting mix, then water thoroughly.
If you’re growing in pots, choose a large container with good drainage. Without drainage holes, the roots will sit in water, leading to disease.
Step 4: Watering and Care
Hydrangeas love consistent moisture. The soil should remain damp but never waterlogged. During hot summers, water deeply two to three times a week. In cooler regions like Canada, rainfall may be enough.
Mulching around the base helps retain moisture and keeps roots cool. Avoid piling mulch directly against the stem, as this can cause rot.
Step 5: Timing Your Cuttings
If you want to propagate, time hydrangea cuttings for optimal results. The best time is late spring to early summer when the stems are green and flexible. Cut a healthy stem, remove the lower leaves, and place it in moist potting mix.
Cover with a plastic dome or bag to create humidity, and within weeks, you’ll see roots forming. This is an easy and cost-effective way to multiply your plants.
Also Read: How to Grow Lavender for Endless Fragrance and Stunning Blooms
Step 6: Seasonal Maintenance
Hydrangeas benefit from pruning and fertilizing. Prune dead or weak stems in late winter or early spring to encourage new growth. Some varieties bloom on old wood, so research your type before heavy pruning.
Fertilize twice during the growing season—once in spring and again in midsummer. Choose a balanced, slow-release fertilizer. Over-fertilizing may result in lush foliage but fewer flowers.
Quick Hydrangea Planting Tips
Step |
Key Action |
Location |
Choose a semi or part-shade position, protected from the hot afternoon sun |
Soil |
Hydrangeas flourish in porous, moist soil with a fair amount of compost |
Planting Hole |
Dig a hole that’s about 2 times wider than the root ball and about as deep |
Container Growing |
Choose a large container with good drainage |
Soil Type |
Use a bagged potting mix rather than garden soil |
Propagation |
Time hydrangea cuttings for optimal results |
Why Hydrangeas Are Perfect for Your Garden
Hydrangeas are versatile. Whether you have a sprawling backyard or a small balcony, they adapt beautifully. In Canada, they bring much-needed color to shorter summers, while in the USA they’re a classic in southern cottage gardens.
Also Read: Step-by-Step Guide to Planting Onion Sets for Big Harvests
From personal experience, I’ve found hydrangeas to be a conversation starter. Guests always ask how I manage to get such full blooms, and the truth is—it’s about following these simple steps consistently.
Planting hydrangeas at home isn’t difficult. With the right location, good soil, and proper watering, they’ll reward you with years of vibrant blooms.
🌸 Ready to add hydrangeas to your garden? Start with just one shrub this season—you’ll be amazed at the transformation it brings to your outdoor space.
