If you’ve ever dreamed of having your own supply of fresh, organic garlic, you’re in luck. Garlic is not only a kitchen staple but also a medicinal powerhouse known for boosting immunity and adding flavor to every dish. The best part? It requires very little space or effort.
In fact, garlic is one of the easiest crops to grow in the home garden, making it perfect for beginners and seasoned gardeners alike. Whether you live in the USA, Canada, or anywhere else in the world, you can grow garlic successfully by following a few simple steps.
1. Why Grow Garlic at Home?
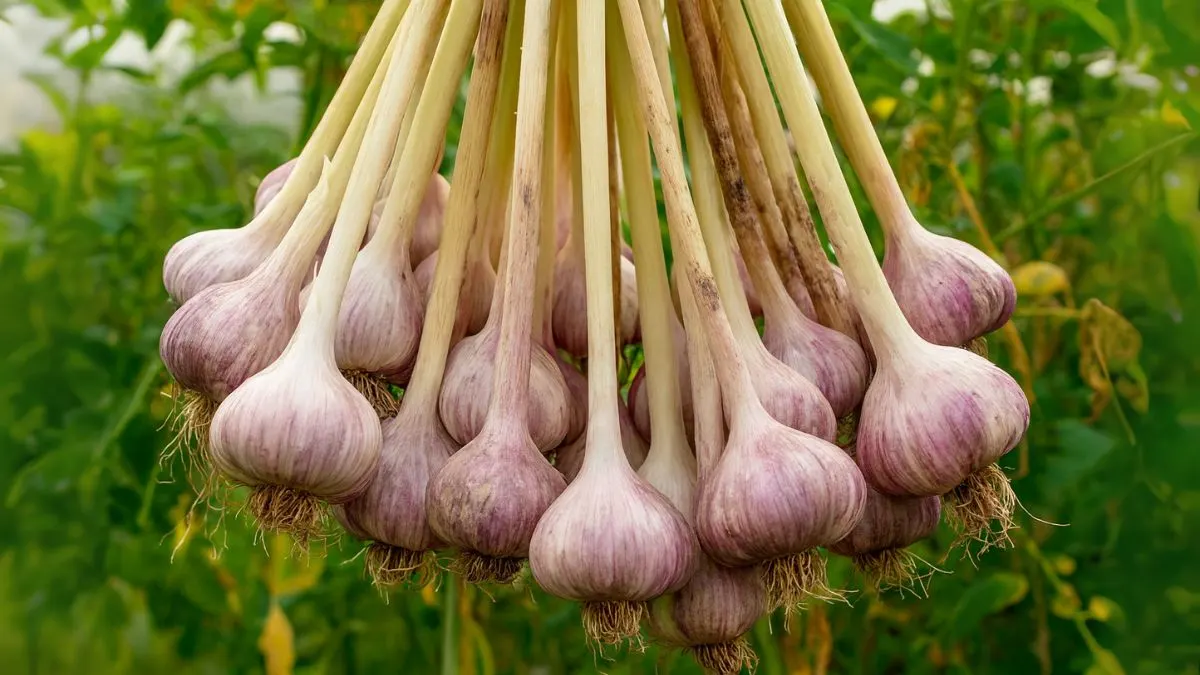
It is more than just a spice. It’s packed with antioxidants, vitamins, and anti-inflammatory properties. Growing it at home has several advantages:
- Fresh, chemical-free bulbs for your kitchen.
- Cost savings over store-bought garlic.
- Easy storage for months after harvest.
- Beautiful green shoots that can be harvested earlier.
I remember my first time planting garlic in containers on my balcony. Within weeks, I saw tiny green shoots, and a few months later, I enjoyed homegrown garlic that tasted more intense than anything from the store.
2. Choosing the Right Garlic Variety
It comes in two main types:
- Softneck garlic – Common in supermarkets, stores well, perfect for warm climates.
- Hardneck garlic – Grows better in colder climates and produces garlic scapes (edible flower stalks).
Choose a variety that matches your local weather conditions.
Also Read: Mexican Sunflower: The Bold Bloom That Attracts Bees, Butterflies And Neighbors!
3. Preparing the Soil
Like most crops, garlic thrives in fertile, loose soil.
- Aim for a soil pH of 6.0–7.0.
- Mix in compost or organic matter before planting.
- Make sure the bed is well-drained to avoid bulb rot.
Raised beds or containers with proper drainage holes are perfect for urban gardeners.
4. How to Plant
This is the most important step in your garlic journey.
- Break the bulb into individual cloves just before planting.
- Plant garlic cloves in the ground root-side down about 2-inches (5-cm) deep.
- In cooler areas, you can plant garlic cloves 1 to 2 inches deep in warm climates.
- Space cloves 6 inches apart in rows about 12 inches apart.
Pro Tip: Always use the larger outer cloves for planting; save the smaller ones for cooking.
5. Best Time to Plant
It loves cool weather.
- In colder regions like Canada or northern USA, plant in the fall (September–October).
- In warmer areas, plant in late fall or early spring.
This gives the cloves enough time to establish roots before winter or summer heat.
6. Watering and Care
It doesn’t demand much attention, but it does need consistent moisture.
- Water regularly, keeping soil moist but not soggy.
- Reduce watering as the bulbs mature (about 3 weeks before harvest).
- Mulch with straw or leaves to retain moisture and control weeds.
Also Read: Plant Once, Enjoy Every Spring: The Magic of Sweet William
7. Fertilizing
To grow large, flavorful bulbs, garlic needs nutrients.
- Add nitrogen-rich fertilizer in early spring.
- Side-dress with compost during the growing season.
- Avoid excessive nitrogen later, as it can promote leafy growth instead of bulbs.
8. Container Gardening
Don’t have a backyard? No problem.
- Use pots at least 8–10 inches deep.
- Make sure containers have good drainage.
- Follow the same planting depth: plant cloves in the ground root-side down about 2-inches (5-cm) deep.
This method is ideal for apartment dwellers who want fresh garlic on their windowsill.
9. Pests and Diseases
Garlic is generally hardy, but it can face a few issues:
- Onion maggots – Use floating row covers to protect young plants.
- Fungal diseases – Avoid overwatering and rotate crops annually.
- Rust – A common fungal infection, controlled by proper spacing and airflow.
Healthy soil and proper spacing usually prevent most problems.
10. Harvesting
Harvesting is the most rewarding part.
- Watch for the lower leaves to turn brown while the top ones remain green.
- Gently lift bulbs with a fork or spade—don’t pull them by hand.
- Cure garlic by hanging it in a dry, shaded, well-ventilated area for 2–3 weeks.
Once cured, bulbs can last up to 6 months when stored in a cool, dark place.
Also Read: The Christ Thorn Plant: Beautiful, Hardy—and Surprisingly Easy to Grow
Quick Garlic Growing Guide
Step |
Requirement |
Planting Depth |
1–2 inches in warm climates, 2 inches deep in ground root-side down |
Spacing |
6 inches between cloves, 12 inches between rows |
Sunlight |
Full sun, 6–8 hours daily |
Soil |
Well-drained, fertile soil with pH 6.0–7.0 |
Planting Time |
Fall in cold climates, fall/spring in warm climates |
Watering |
Consistently moist; reduce before harvest |
Harvest |
When lower leaves brown and tops stay green |
Growing garlic is as simple as it is satisfying. With good soil, sunshine, and regular watering, you’ll enjoy fresh, flavorful garlic that elevates every dish in your kitchen.
So, this season, grab a few cloves and get planting—you’ll never look at store-bought garlic the same way again!
