When it comes to annual flowers that are easy to grow yet striking in appearance, Clarkia is a gardener’s delight. Known for its delicate, crepe-paper-like blossoms and slender stems, Clarkia adds instant elegance to borders, containers, or cut-flower arrangements.
I still remember the first time I tried growing Clarkia on my balcony in spring. With just a few seeds, regular care, and a sunny spot, the plants shot up with abundant blooms that lasted for weeks. The best part? They required little fuss compared to other ornamentals.
Why Grow Clarkia? 🌸
- Versatile Planting Options: You can plant Clarkia in containers or in a cut garden, making it perfect for small spaces or large landscapes.
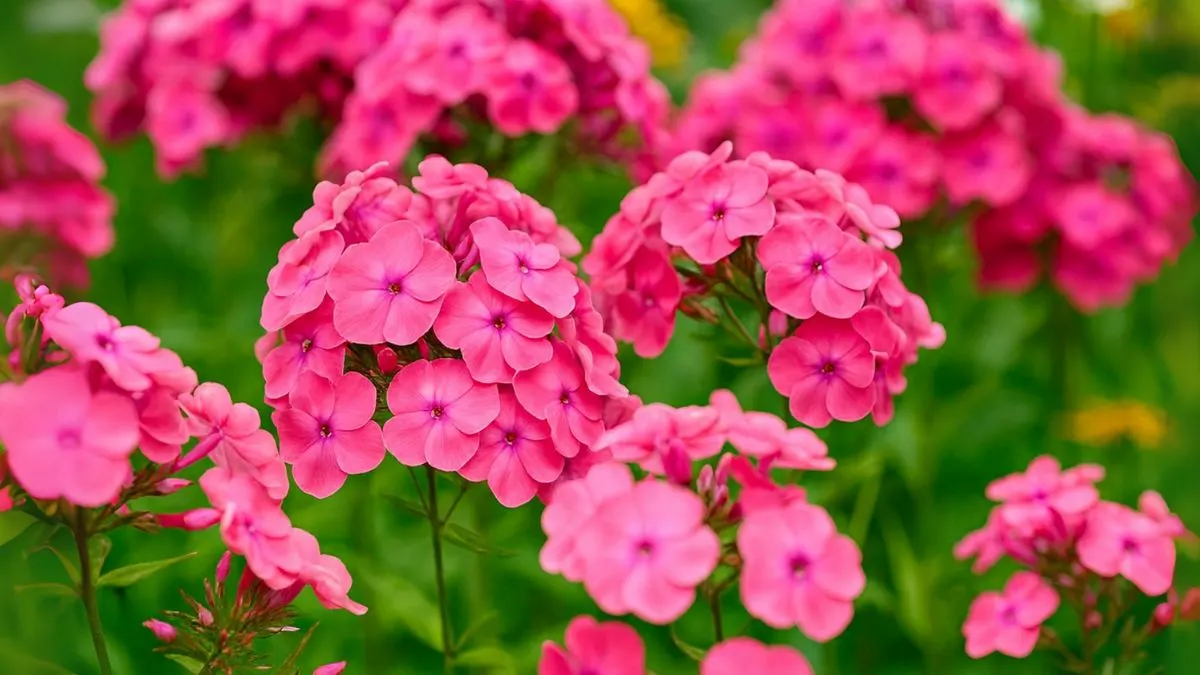
- Beautiful Blooms: Flowers come in shades of pink, purple, white, and red, ideal for bouquets.
- Beginner-Friendly: Once germinated, Clarkia requires very little care.
- Pollinator-Friendly: Bees and butterflies are drawn to their blossoms.
Preparing the Soil for Clarkia
Before sowing, it’s essential to create the right foundation.
- Choose a sunny spot that receives at least 6 hours of sunlight daily.
- Rake the soil to create a fine top, which helps seeds settle properly and promotes even germination.
- Use well-drained soil enriched with compost. Clarkia dislikes soggy roots, so drainage is crucial.
👉 When I tried planting them in compact soil, germination was patchy. Loosening the soil surface made all the difference.
Also Read: Plant These in Spring for a Garden Bursting with Color and Fragrance
Sowing Clarkia Seeds
- When to Plant: Timing is key! Gardeners should try not to plant too early. In cool regions, wait until the danger of frost has passed. In warmer climates, sow in late winter or early spring.
- How to Plant
- Scatter seeds thinly over prepared soil.
- Cover lightly with a thin layer of soil.
- Keep the soil evenly moist but not waterlogged during the germination period, which usually takes 7–14 days.
For those starting indoors, use seed trays, then transplant seedlings once they’re sturdy enough.
Watering and Feeding Clarkia
- Water regularly, but avoid excess. Overwatering may cause root rot.
- During the germination stage, keep the soil evenly moist but not waterlogged.
- Once established, water only when the topsoil feels dry.
Feeding them isn’t always necessary, but a balanced fertilizer once a month can boost flowering.
Growing Clarkia in Containers
One of the reasons I love Clarkia is how easily you can plant Clarkia in containers or in a cut garden.
- Choose deep pots to support their long roots.
- Add drainage holes to avoid waterlogging.
- Group several plants together for a fuller look.
They also make excellent cut flowers—lasting beautifully in vases indoors.
Also Read: Bull Thistle: The Spiky Weed with Surprising Health Benefits
Common Challenges with Clarkia
Problem |
Cause |
Solution |
Patchy Germination |
Planted too early or soil not prepared |
Wait until frost danger passes and rake the soil to create a fine top |
Weak Stems |
Low light exposure |
Ensure at least 6 hours of sunlight daily |
Root Rot |
Overwatering |
Keep the soil evenly moist but not waterlogged |
Tips for Healthy Growth 🌱
- Thin seedlings once they’re 3–4 inches tall to avoid overcrowding.
- Stake taller varieties to prevent bending in strong winds.
- Deadhead spent flowers to encourage more blooms.
- Mulch around plants to conserve soil moisture.
Clarkia as a Cut Flower
Clarkia is particularly valued in floral arrangements. Its long stems and colorful blossoms make it a florist’s favorite. When I cut them early in the morning and placed them in water, they lasted up to a week indoors. A handy tip: snip the stems at an angle and change the vase water every two days.
Growing Clarkia is a rewarding experience for beginners and seasoned gardeners alike. Whether you choose to plant Clarkia in containers or in a cut garden, these vibrant blooms will brighten up your space indoors and outdoors.
👉 Ready to get started? Grab some Clarkia seeds this season and watch your garden transform with effortless charm.


