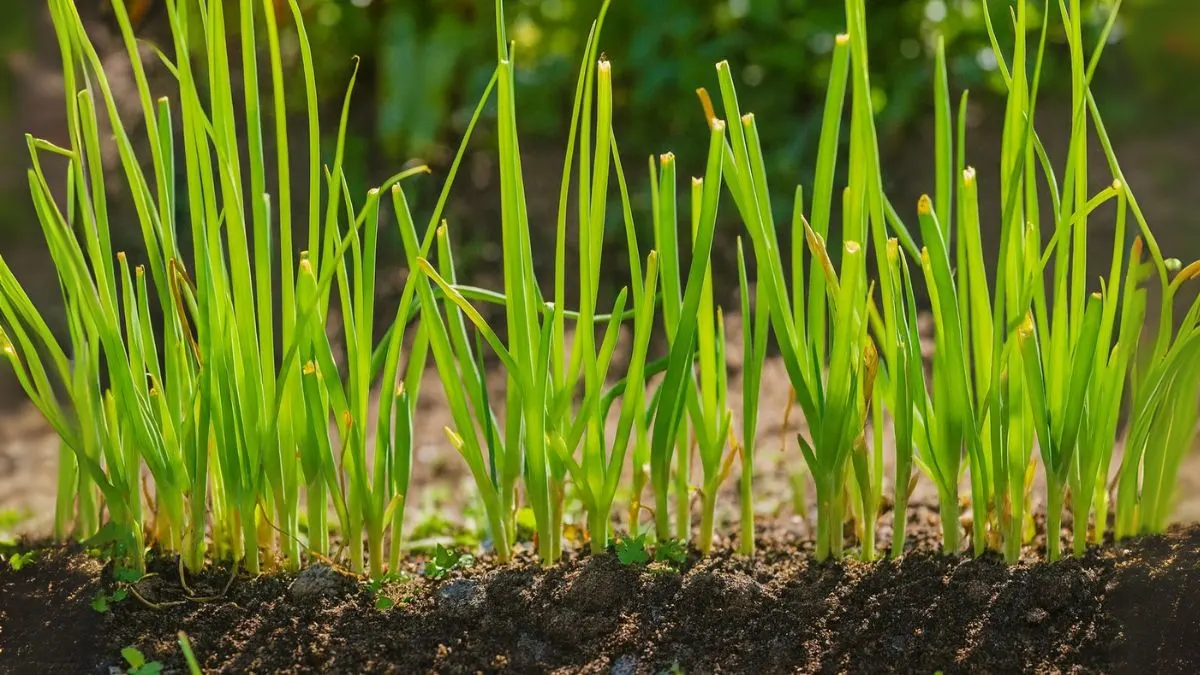
Few herbs bring as much versatility and charm to a kitchen garden as chives. With their mild onion-like flavor and delicate green shoots, they’re the perfect garnish for soups, salads, eggs, and baked potatoes. But beyond their culinary appeal, chives thrive in full sun and well-drained soil rich in organic matter, making them one of the easiest herbs to grow—even for beginners.
When I first grew chives, I underestimated how hardy they were. I placed a pot in my kitchen window and within weeks, I had fresh sprigs ready to harvest. Whether you’re gardening on a balcony in Toronto, in the backyard of a suburban U.S. home, or even indoors in a sunny apartment window, chives adapt beautifully.
Why Grow Chives?
- Culinary use: Adds a mild onion flavor to dishes.
- Low maintenance: Perfect for beginners.
- Aesthetic appeal: Their purple blossoms attract pollinators.
- Adaptability: They’re easy to grow indoors in a sunny window as well as outdoors.
Ideal Growing Conditions
Chives are resilient, but they perform best under the right conditions.
- Sunlight: Chives need six to eight hours of sunlight, so it’s best to plant them in full sun.
- Soil: They prefer moist, fertile, rich and well-drained soil with added compost.
- Drainage: Chives thrive in full sun and well-drained soil rich in organic matter—too much waterlogging will cause root rot.
- Temperature: Ideal growing range is 15–25°C (59–77°F), but they tolerate colder climates with some protection.
Also Read: Clematis: The Climbing Vine That Gives You a Wall of Blooms
Planting Chives
There are two main methods to begin your chive garden.
1. From Seeds
If you want to grow chives from scratch, provide them with 6–8 hours of sunlight daily in well-draining, moist soil, and start seeds indoors 6–8 weeks before the last frost or by dividing existing clumps.
Steps:
- Sow seeds about ¼ inch deep in seed-starting trays.
- Keep the soil consistently moist.
- Transplant seedlings outdoors once frost danger has passed.
2. By Division
Another reliable method is to divide clumps of existing chive plants. Simply dig up a healthy clump, split the roots, and replant. This method is faster and ensures stronger growth.
Growing Chives in Containers
If you don’t have outdoor space, don’t worry. Chives are easy to grow indoors in a sunny window.
- Choose a pot at least 6–8 inches deep with drainage holes.
- Fill up your container with good soil made for growing vegetables—preferably a mix rich in compost.
- Place the pot where it can receive at least 6 hours of light daily. A south-facing window works best.
For those in the USA or Canada, indoor gardening with chives is particularly helpful during colder months when outdoor gardening slows down.
Watering and Fertilization
- Watering: Keep the soil evenly moist but not waterlogged.
- Fertilizer: Use a balanced, organic fertilizer every 4–6 weeks.
Remember, over-fertilizing can cause too much leafy growth and reduce flavor intensity.
Also Read: Kevda Plant Benefits: From Headaches to Holy Rituals
Caring for Chives
- Pruning: Regular harvesting encourages more growth. Snip leaves from the base using scissors.
- Flowering: While the purple flowers look beautiful, they can reduce leaf production. Cut them off if you want more greens.
- Overwintering: In colder regions, chives will die back in winter but re-sprout in spring. Cover them with mulch for added protection.
Common Problems and Solutions
Problem |
Cause |
Solution |
Yellowing leaves |
Poor drainage or overwatering |
Improve soil drainage |
Stunted growth |
Lack of sunlight or nutrients |
Move to full sun, add compost |
Pests (aphids, thrips) |
Weak plants due to stress |
Spray neem oil or soapy water |
Harvesting Chives
Chives grow quickly and can be harvested within 60 days of planting seeds or 30 days after transplanting divisions.
- Cut leaves 1–2 inches above the soil.
- Harvest regularly to encourage fresh growth.
- Store in the fridge for up to a week, or freeze for long-term use.
Personal Experience
When I planted my first batch of chives in a balcony container, I worried they wouldn’t survive the erratic Canadian spring. But the plants surprised me. With consistent watering and sunlight, they bounced back after each harvest. Today, I keep a pot near my kitchen window, and there’s nothing better than snipping fresh greens directly into my scrambled eggs or salad.
Also Read: The Secret to Blooming Big, Bold Dahlias in Your Backyard
Growing Chives
Requirement |
Details |
Sunlight |
Chives need six to eight hours of sunlight, best to plant them in full sun |
Soil |
Moist, fertile, rich and well-drained soil |
Indoor Growth |
Easy to grow indoors in a sunny window |
Planting Method |
Seeds or division of clumps |
Harvesting Time |
60 days from seed; 30 days from division |
Growing chives is one of the most rewarding and simple gardening experiences, whether you’re a seasoned gardener or just starting out. With proper care—ensuring well-draining, moist soil, full sunlight, and regular harvesting—you can enjoy fresh, flavorful greens all year long.
They’re versatile, resilient, and add beauty to both outdoor gardens and indoor windowsills. If you’ve been looking for a beginner-friendly herb to grow, chives should be at the top of your list.


