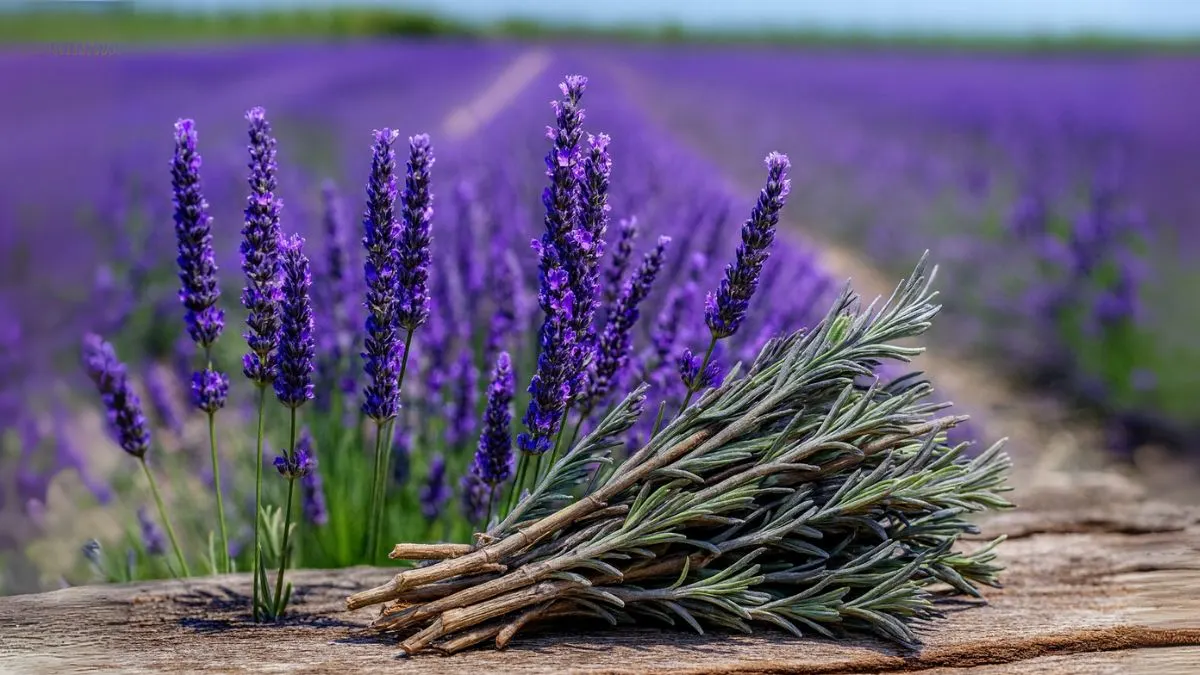
Lavender cuttings look tricky—until they don’t. Once the sequence clicks, turning one plant into a dozen becomes a quick, satisfying ritual. After years of growing lavender in balcony containers and sunny borders, the biggest unlock was preparation: sharp pruners, a breathable medium, and confident, clean cuts. Do the setup right, then let patience, light, and light misting carry the rest. Whether multiplying gifts or filling a hedge, the method below is fast, repeatable, and dependable.
Why This Works
Lavender resents wet, heavy media—especially when rooting. The solution is oxygen: a coarse, airy substrate, consistent—but not soggy—moisture, and steady warmth. This combination fuels callus formation and new roots while minimizing disease. Get those basics right and success rates soar.
The 2‑Minute Method (Step‑by‑Step)
- Select the right material
Choose a healthy, non‑flowering side shoot about 3–4in long. Flowering stems divide energy and root more slowly, so skip blooms. This is the ideal start to [Propagate lavender]. - Prepare the rooting blend
Fill a small pot, plug tray, or cell pack with a 50:50 mix of [well‑draining compost] and perlite or horticultural grit. This is your foundational [gritty mix]—light, fast‑draining, and rich in air pockets to protect delicate stems. - Take precise cuttings
Use a sanitized, sharp knife or pruning shears to take 3–4in cuttings. Aim for softwood with a sliver of semi‑ripe base for extra vigor. Clean cuts reduce bruising and lower infection risk—critical to [prevent rot]. - Strip and (optionally) dip
Remove lower leaves so no foliage sits below the surface. If desired, dip the cut end in a light coat of [rooting hormone] to boost consistency, especially in cooler rooms or with semi‑ripe wood. The muscle memory is simple: [cut, strip, dip, stick]. - Stick, firm, and label
Make a pilot hole, insert the cutting so the first node sits above the surface, and gently firm the media. Label variety and date for accurate tracking. - Humidity, light, warmth
Cover with a clear dome, bag, or jar to maintain humidity, then crack it open daily for airflow. Place in [Bright, indirect light]—not harsh sun. Optional gentle [bottom warmth] at 70–75°F/21–24°C speeds rooting and keeps timelines predictable.

Timing, Tools, and Ideal Mix
- When to cut: Late spring to mid‑summer is prime for [softwood cuttings]; semi‑ripe cuttings also succeed in late summer. After the main show, “deadhead” promptly—removing old blooms encourages fresh shoots perfect for propagation.
- Tools: Sterilize pruners between plants using alcohol or a 10% bleach solution. Clean tools go a long way to [prevent rot].
- Medium: Keep your [gritty mix] consistent: 50% [well‑draining compost], 50% perlite/grit. If humidity is high or rooms are cool, bump the perlite fraction to dry things faster.
Aftercare: Rooting to Ready Plants
- Humidity and moisture: Maintain a slightly moist medium—never soggy. Vent the cover daily to discourage mold.
- Root check: In 2–6 weeks, a gentle tug should meet resistance. Once established, begin [Potting up] into a slightly richer but still free‑draining blend.
- Light shift: Gradually increase light and airflow over 7–10 days to harden new plants.
- Feeding: Delay fertilizer until fresh growth is obvious; lavender prefers lean conditions at the start.
Troubleshooting at a Glance
- Wilting under a dome: Usually heat or excess moisture. Increase venting, reduce misting, and ensure instant drainage.
- Base rot: Remove affected cuttings, sanitize blades, and increase perlite/grit in the mix. Re‑stick only firm, non‑flowering shoots to [prevent rot].
- Slow roots: Add [bottom warmth], confirm [Bright, indirect light], and refresh cuttings from vigorous, current‑season growth.
The 2‑Minute Lavender Propagation Flow
- Select shoot: Non‑flowering side shoot, 3–4in—maximum rooting energy.
- Prepare mix: 50:50 [well‑draining compost] + perlite/grit—oxygen‑rich and fast‑draining.
- Sanitize & cut: Clean blades; precise cut—lower disease risk.
- Strip & dip: Remove lower leaves; optional [rooting hormone]—faster callus, stronger initiation.
- Stick & cover: Firm in, water lightly, humidity cover with daily vent—stable moisture, clean air.
- Warmth: Gentle [bottom warmth]—shorter, more uniform timelines.
- Light: [Bright, indirect light]—no scorching, steady photosynthesis.
Batching for Efficiency
For a hedge or many gifts, batch 12–18 cuttings from the most vigorous plant right after post‑bloom trimming. Set them into a tray of [gritty mix], mist lightly, cover, and check twice a week. In about 3 weeks, most show resistance to a tug; by 6 weeks, they’re ready for small pots. This cadence keeps mother plants compact and yields uniform, bushy starters.
Designing a Lavender Pipeline
- Frequency: Take a small batch every 2–3 weeks through the softwood window for a continuous supply.
- Variety labeling: Track English, French, and Spanish types—they differ in hardiness, bloom timing, and scent.
- Potting strategy: Move from cells to 3–4in pots, grouping multiple rooted cuttings for fuller, faster displays.
- Site‑ready plants: Aim for sturdy roots that knit the media before transplanting outdoors or into final containers.
Frequently Asked Questions
- Do I need hormone? Optional. It improves uniformity, especially in cooler rooms or with semi‑ripe wood.
- Can I root in water? Lavender prefers air around the stem base. Water‑rooted cuttings often sulk when transferred to soil.
- Why do tips crisp? Usually too much sun or too little humidity. Return to [Bright, indirect light] and restore the humidity cover with daily venting.
- When to feed? After visible new growth. Start lightly to avoid soft, weak tissue.
Seasonal Notes and Placement
- Spring to mid‑summer: Best rooting speed, easiest success.
- Late summer: Semi‑ripe wood is fine—extend callus time and keep airflow steady.
- Indoors: East windows or a sheer‑filtered south window deliver ideal [Bright, indirect light]. Avoid hot, dry blasts from vents.
Your First Session: A 15‑Minute Playbook
- Minute 0–3: Sanitize tools, pre‑moisten [gritty mix], label pots.
- Minute 3–6: Take 6–10 cuttings, 3–4in, non‑flowering, clean cuts.
- Minute 6–8: Strip lower leaves; optional [rooting hormone].
- Minute 8–12: Stick, firm, water lightly, add humidity cover.
- Minute 12–15: Place in [Bright, indirect light] with gentle [bottom warmth] if available. Set calendar reminders for venting and checks.
More Lavender, Less Effort—On Repeat
With sharp pruners, a breathable substrate, and a repeatable two‑minute sequence, anyone can [Propagate lavender] confidently. The essentials—non‑flowering cuttings, a [gritty mix] of [well‑draining compost] and perlite, optional [rooting hormone], [Bright, indirect light], daily venting to [prevent rot], and optional [bottom warmth]—consistently yield transplant‑ready plants in a few weeks. As roots firm, begin [Potting up], harden new plants, and enjoy a steady stream of fragrant, silvery green starters for hedges, gifts, and containers.
