Fresh, homegrown greens are no longer reserved for those with big backyards or sprawling gardens. In fact, one of the easiest ways to bring nutrition straight to your table is through microgreens—tiny plants that pack a powerful punch of flavour and health benefits.
The secret to growing them successfully? A microgreens growing tray. Simple yet effective, these trays give beginners and seasoned gardeners alike the ability to produce fresh greens year-round—even in small apartments.
When I first experimented with microgreens, I underestimated the importance of the tray. But after switching to a specialized sprouting tray, my yields improved drastically. The difference was clear: healthier, faster growth and harvests that were clean and easy.
Why Microgreens Deserve Your Attention
Microgreens are not just trendy—they’re nutritional powerhouses. Studies show they contain up to 40 times more vitamins and antioxidants than mature plants. Adding a handful of fresh kale or radish microgreens to a salad can significantly boost your nutrient intake.
But their delicate size also means they require the right setup to thrive, which is where the growing tray comes in.
What is a Microgreens Growing Tray?
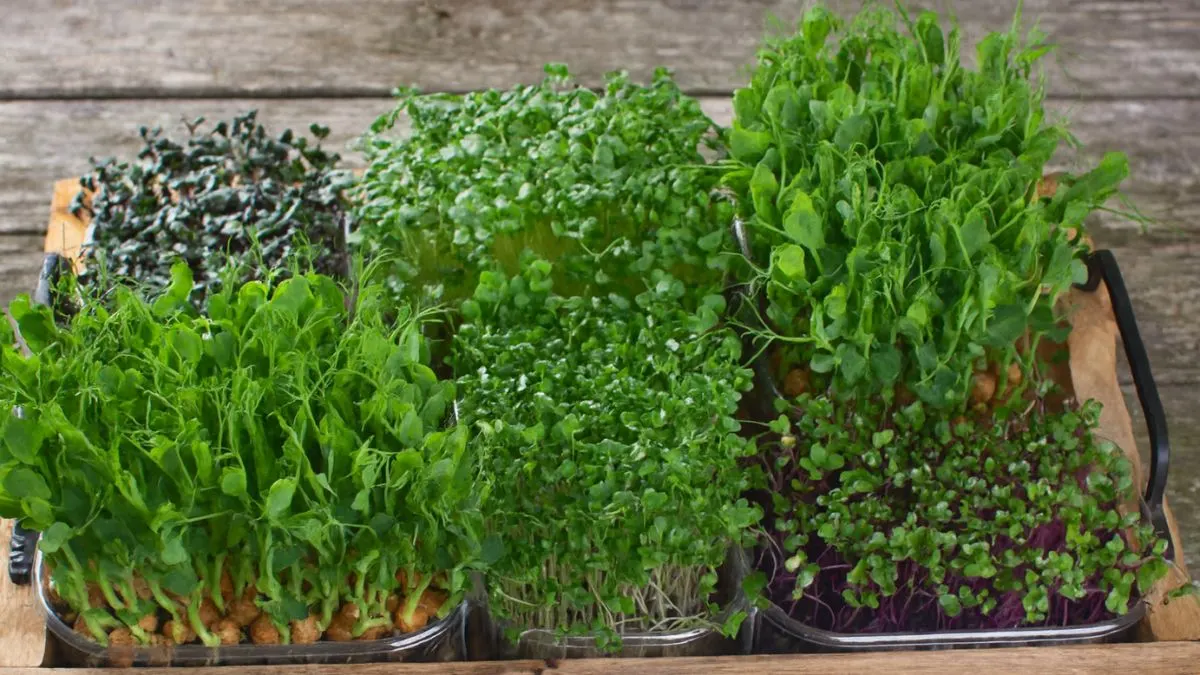
A microgreens growing tray is a shallow container designed to give seedlings the perfect environment to sprout and thrive. Unlike standard pots, these trays are wide and flat, giving seeds ample room to spread and grow evenly.
The best trays come with:
- Drainage holes to prevent waterlogging and root rot.
- A shallow depth for easy seed placement and harvesting.
- Compatibility with lids or weights to encourage even sprouting.
In short, they make growing microgreens less messy, more efficient, and incredibly rewarding.
Also Read: Everything You Need to Keep Your Moon Valley Pilea Thriving
Key Benefits of Using a Microgreens Growing Tray
-
Nutrient-Dense Greens at Home
The design allows you to cultivate nutrient-dense microgreens by providing a suitable shallow container with drainage to prevent root rot, allowing for easy harvesting with minimal soil contamination.
This means the greens you harvest are cleaner, fresher, and packed with nutrition.
-
Faster and Healthier Growth
Unlike improvised containers, microgreen sprouting trays promote healthy and rapid growth by ensuring optimal air circulation and moisture balance.
-
Even Germination with Weights
One of the most overlooked hacks in microgreen growing is the use of weight. Adding weight helps you get even germination across the tray, ensuring uniform, lush growth instead of patchy, uneven sprouts.
-
Easy Harvesting
The shallow design means you can snip your greens cleanly at the base, with little soil sticking to the stems. This reduces post-harvest washing and keeps your greens fresh longer.
-
Space Efficiency
Perfect for apartments, condos, or even offices, a single tray can produce enough greens for several meals each week without occupying much space.
How to Use a Microgreens Growing Tray
Here’s a step-by-step breakdown:
- Choose your seeds – Popular options include sunflower, radish, broccoli, and pea shoots.
- Fill the tray – Add a thin layer of well-draining soil or a hydroponic medium.
- Sow seeds evenly – Spread seeds across the surface without overcrowding.
- Cover with weight – Place a lightweight board or another tray on top for 2–3 days. This ensures even germination.
- Water gently – Keep the soil moist, but avoid overwatering.
- Expose to light – Once germinated, place the tray in indirect sunlight or under grow lights.
- Harvest – In 7–14 days, snip the microgreens just above the soil line.
Also Read: Grow Plants Faster Without Soil or Seeds—Try Air Layering!
Popular Microgreens to Grow in Trays
Microgreen |
Days to Harvest |
Nutritional Benefits |
Sunflower |
7–10 days |
Rich in protein & vitamin E |
Radish |
6–8 days |
Spicy flavor, high in vitamin C |
Broccoli |
8–12 days |
High in sulforaphane (cancer-fighting) |
Pea Shoots |
10–14 days |
Great source of folate & vitamin K |
Kale |
8–12 days |
Loaded with antioxidants |
My Personal Experience
When I started using a microgreens growing tray, I noticed a huge improvement compared to using random kitchen containers. My radish microgreens sprouted evenly and were ready in just 7 days. The harvesting process was clean, and I didn’t have to deal with messy soil contamination.
The best part? I could grow multiple trays simultaneously and experiment with different seeds, creating a steady supply of fresh greens for smoothies, salads, and garnishes.
Tips for Success
- Light Matters: Place trays near a bright window or under LED grow lights.
- Avoid Overcrowding: More seeds don’t mean more yield. Give each sprout breathing space.
- Consistent Watering: Keep soil moist, but not soggy. A spray bottle works best.
- Rotate Trays: If using natural light, rotate trays daily for uniform growth.
Why Every Home Should Have One
The beauty of a microgreens tray is accessibility. Whether you live in a small apartment in Canada, a suburban home in the USA, or anywhere in between, you can grow fresh food year-round without needing a garden.
They’re affordable, easy to set up, and produce tangible results within days—making them perfect for beginners and kids too.
Also Read: Stachys Plant: Nature’s Soft Bandage With Healing Powers
Conclusion
From boosting your nutrition to making gardening possible in small spaces, a microgreens growing tray is a game-changer. It allows you to cultivate nutrient-dense microgreens by providing a suitable shallow container with drainage to prevent root rot, allowing for easy harvesting with minimal soil contamination.
With benefits like healthy and rapid growth, even germination through added weight, and space efficiency, these trays prove that you don’t need a backyard to enjoy homegrown produce.
So, are you ready to place a tray on your windowsill and experience the joy of fresh, flavorful greens at your fingertips?


