Cauliflower is one of the most rewarding vegetables to grow at home. Its crisp white heads are not only delicious but also packed with nutrients. While many people buy seedlings from nurseries, starting directly from seeds gives you more control over the quality and health of your crop. If you’ve ever wondered how to do it right, this guide will walk you through the process in simple steps.
I still remember the first time I grew cauliflower in my small backyard garden. The excitement of watching the seeds sprout into strong seedlings and finally forming perfect white heads was unmatched. With patience, the right conditions, and a little attention to detail, you can achieve the same results.
Step 1: Preparing to Sow Seeds
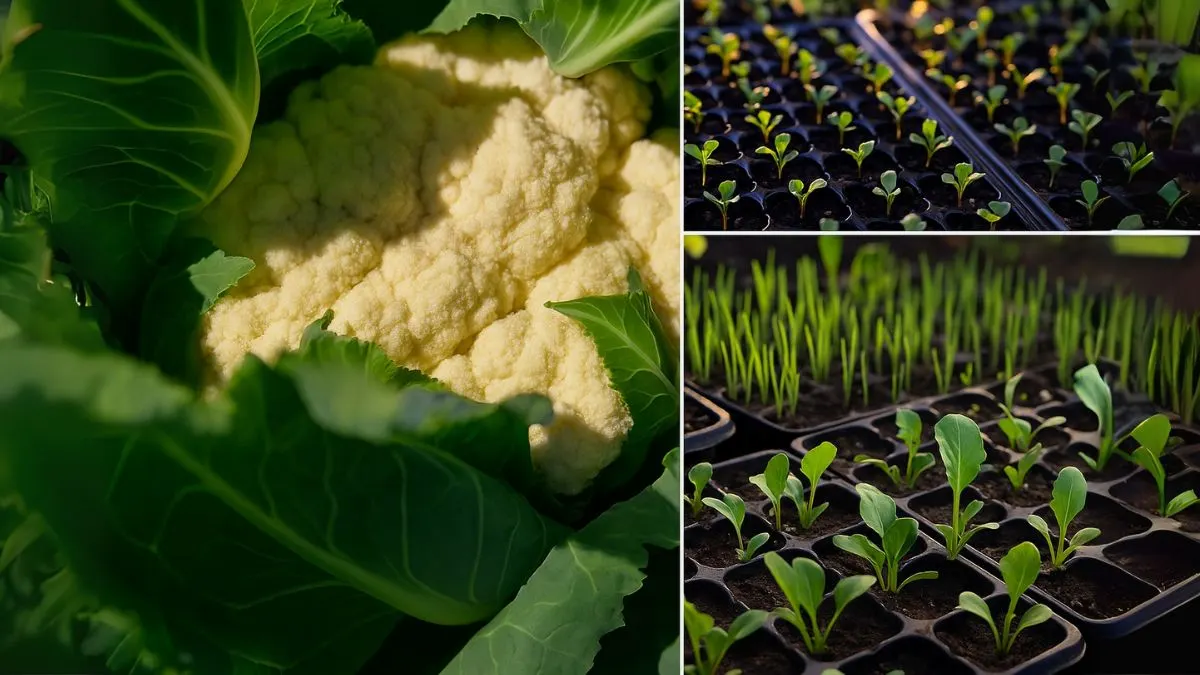
The journey begins with seed trays and the right growing medium. Always sow seeds in trays with sterile, soilless mix, keeping them moist at 70-75°F (21-24°C) until they have several leaves. This temperature range encourages steady germination without stressing the seeds.
Pro Tip: Avoid using garden soil in trays, as it can harbor pests and diseases. A soilless mix ensures a clean, disease-free start.
Step 2: Planting Depth and Spacing
Correct depth is key to healthy sprouting. Always plant seed shallowly, one fourth to one-half inch deep. Planting too deep will slow germination, while too shallow may expose the seed.
Place just one seed per cell and barely cover them with soil. This prevents overcrowding and ensures each seedling has enough nutrients and room to grow strong roots.
Also Read: Why Peperomia Might Be the Only Houseplant You’ll Ever Need
Step 3: Germination Period
With the right conditions, cauliflower seeds should germinate in about two weeks. Keep the trays in a bright, warm spot and mist them lightly if the surface dries out.
During this period, patience is vital. You may notice some seeds sprout earlier than others—this is completely normal.
Step 4: Transplanting Seedlings
Once seedlings have grown several leaves, they are ready for transplanting. Choose a sunny spot in your garden with rich, well-draining soil. Cauliflower thrives in cool weather, so plan your sowing accordingly depending on your region.
- In Canada and USA, spring and fall are ideal seasons.
- In warmer regions, late fall or early winter works best.
Step 5: Ongoing Care
To ensure healthy growth, follow these care tips:
- Watering – Keep soil consistently moist but not waterlogged. Cauliflower is sensitive to both drought and excess water.
- Fertilization – Apply a balanced fertilizer rich in nitrogen to encourage leafy growth before the heads form.
- Pest Control – Watch out for common pests like cabbage worms and aphids. Organic neem sprays or row covers can help.
- Mulching – Adding mulch retains soil moisture and prevents weeds.
Also Read: Want Fruitful Apricot Trees? Master These 5 Tips First
Quick Reference Table: Cauliflower Growing Guide
Step |
Key Action |
Timing/Notes |
Sowing Seeds |
Sow seeds in trays with sterile, soilless mix at 70-75°F (21-24°C) |
Until seedlings develop 3–4 leaves |
Planting Depth |
Plant seed shallowly, one fourth to one-half inch deep |
Place just one seed per cell |
Germination |
Cauliflower seeds should germinate in about two weeks |
Maintain steady moisture |
Transplanting |
Move seedlings to sunny, fertile beds |
When seedlings have several leaves |
Care Routine |
Water regularly, fertilize, control pests |
Until harvest |
Common Mistakes to Avoid
- Planting seeds too deep.
- Allowing trays to dry out completely.
- Overcrowding seeds instead of using just one seed per cell.
- Transplanting before seedlings are strong enough.
Growing cauliflower from seeds is an incredibly satisfying experience. Whether you are in Canada, the USA, or anywhere else in the world, the joy of harvesting homegrown cauliflower is worth the effort. Start small, learn as you go, and soon your kitchen will be filled with fresh, crisp heads of this versatile vegetable.


