Growing apple trees at home is one of the most rewarding gardening experiences. Not only do you enjoy fresh, juicy fruits, but you also create a lasting feature for your garden. For beginners, it may seem overwhelming, but with the right guidance, it’s easier than you think.
In this blog, we’ll walk you through the process of planting apple trees step by step. You’ll learn how to choose the right variety, prepare your soil, plant correctly, and give your tree the care it needs to thrive for years to come.
Step 1: Selecting the Right Apple Tree
Before you start digging, remember that selecting the right type is crucial for success. Different apple varieties thrive in different climates.
- If you live in colder regions of Canada or the northern USA, hardy varieties like ‘Honeycrisp’ or ‘McIntosh’ are excellent choices.
- For warmer zones, look into ‘Fuji’ or ‘Gala’, which produce sweeter fruits.
Also, consider whether you want dwarf, semi-dwarf, or standard trees. Dwarf trees are easier for beginners because they’re smaller, more manageable, and produce fruit faster.
Step 2: Preparing the Planting Site
Apple trees thrive best when the ground is ready for them. Apple trees need well-drained soil to avoid root rot, and they love sunny spots.
Start by clearing the area where you plan to plant. Remove a circle or square of grass at least 1m (3ft) across so the roots won’t have to compete for nutrients. Add compost or organic matter if your soil feels heavy or clay-like to improve drainage and fertility.
A quick tip: If your soil is sandy, mixing in compost can help it retain moisture while staying well-drained.
Also Read: How to Grow Watermelons for Juicy, Sweet Harvests
Step 3: Digging the Planting Hole
Now comes the fun part—digging. When planting, always dig a hole for each tree that is no deeper than the root ball, and about twice as wide. This ensures the roots have enough room to spread out without being buried too deep.
Think of it this way: depth gives stability, while width gives space for root expansion. Place the top of the root ball level with the surrounding soil to prevent suffocation of roots.
Step 4: Planting the Apple Tree
Once the hole is ready, it’s time to place the tree. Gently place the apple tree in the center of the planting hole with its roots down and spread out. If the roots are tightly wound from being in a pot, loosen them carefully before planting.
Fill the hole back with the soil you dug out, pressing gently to remove air pockets. Avoid pressing too hard, as compacted soil can hinder root growth.
Pro Tip: Planting in early spring or fall is best because the soil is moist and temperatures are moderate, giving the young tree the best chance to establish.
Step 5: Watering Correctly
Watering is key to survival. After planting, always water deeply and slowly. This allows water to penetrate the root zone and encourages roots to grow downward.
For the first year, water your apple tree regularly, especially during dry spells. Mulching around the base with straw or shredded bark will help retain moisture and prevent weeds.
Also Read: Malabar Spinach: The Perennial Green You Need in Your Garden
Step 6: Early Care and Maintenance
Planting is just the beginning—caring for your apple tree ensures it will thrive.
- Support: Young apple trees may need staking to protect them from wind.
- Pruning: Remove dead or crossing branches in the early years to shape the tree.
- Soil Check: Keep the base free of weeds and grass for at least a meter around.
- Mulch: Apply fresh mulch every year to retain moisture and regulate soil temperature.
These are simple but effective onion care and maintenance tips—oops, scratch that, let’s keep it to apples 😊.
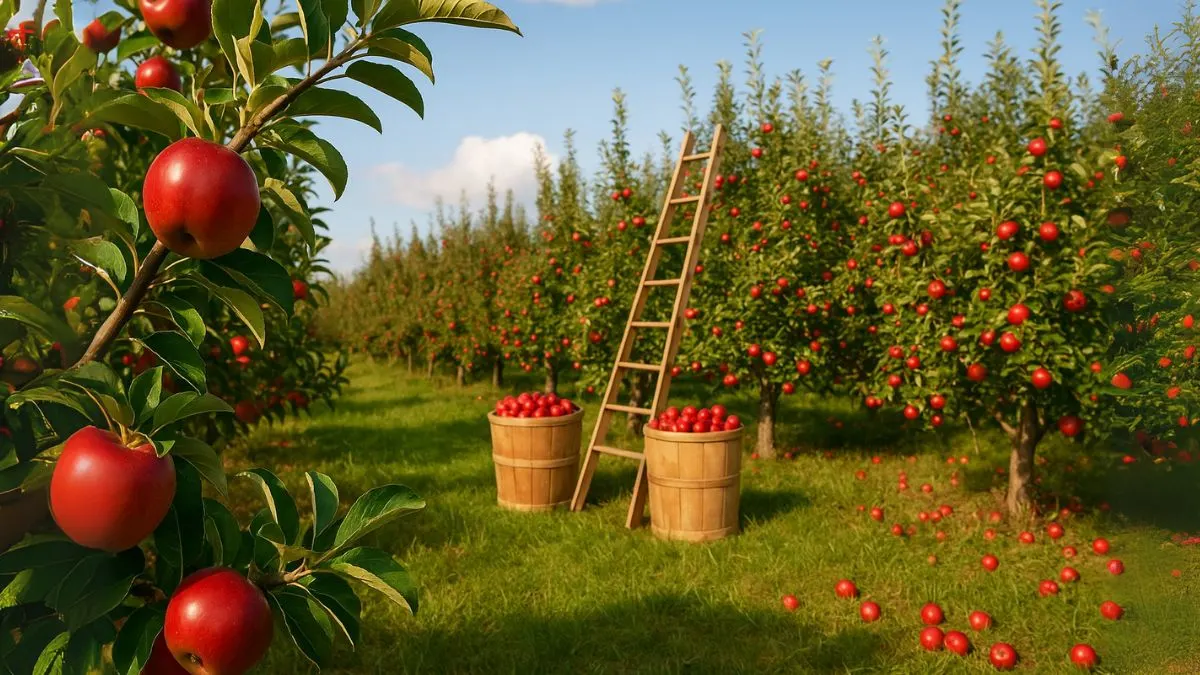
Step 7: Patience and First Harvest
It takes time for apple trees to bear fruit, usually 2–4 years for dwarf varieties and 5–7 years for standard ones. While you wait, enjoy the beauty of the blossoms each spring. Pollination is essential, so planting two different varieties nearby can boost fruit production.
When your tree finally bears fruit, the joy of biting into your own home-grown apple will make the wait worthwhile.
Quick Apple Planting Guide
Step |
Key Action |
1. Selecting the Variety |
Selecting the right type is crucial for success – choose based on climate. |
2. Preparing the Site |
Apple trees need well-drained soil; clear grass 1m (3ft) across. |
3. Digging the Hole |
Dig a hole for each tree that is no deeper than the root ball, and about twice as wide. |
4. Planting the Tree |
Place the apple tree in the center of the planting hole with its roots down and spread out. |
5. Watering |
Water deeply and slowly after planting, and keep soil moist. |
Also Read: The Best Berries to Grow in Containers
Planting apple trees is a journey filled with learning, patience, and eventual reward. From carefully preparing the soil to giving your tree regular attention, every step contributes to its health and future harvests.
🍎 So, are you ready to dig in and start your orchard? Plant your first apple tree today, and you’ll thank yourself every harvest season!


