Turmeric isn’t just a spice—it’s a golden root that has been used in traditional medicine and cooking for thousands of years. Known for its anti-inflammatory benefits, it’s a staple in curries, teas, and natural remedies. But while most of us buy powdered turmeric at the store, few realize how easy it is to grow at home.
Even in colder climates like Canada and northern USA, you can grow turmeric indoors in pots. With the right soil, sunlight, and care, your kitchen can become a small turmeric garden.
Step 1: Choosing and Preparing Rhizomes
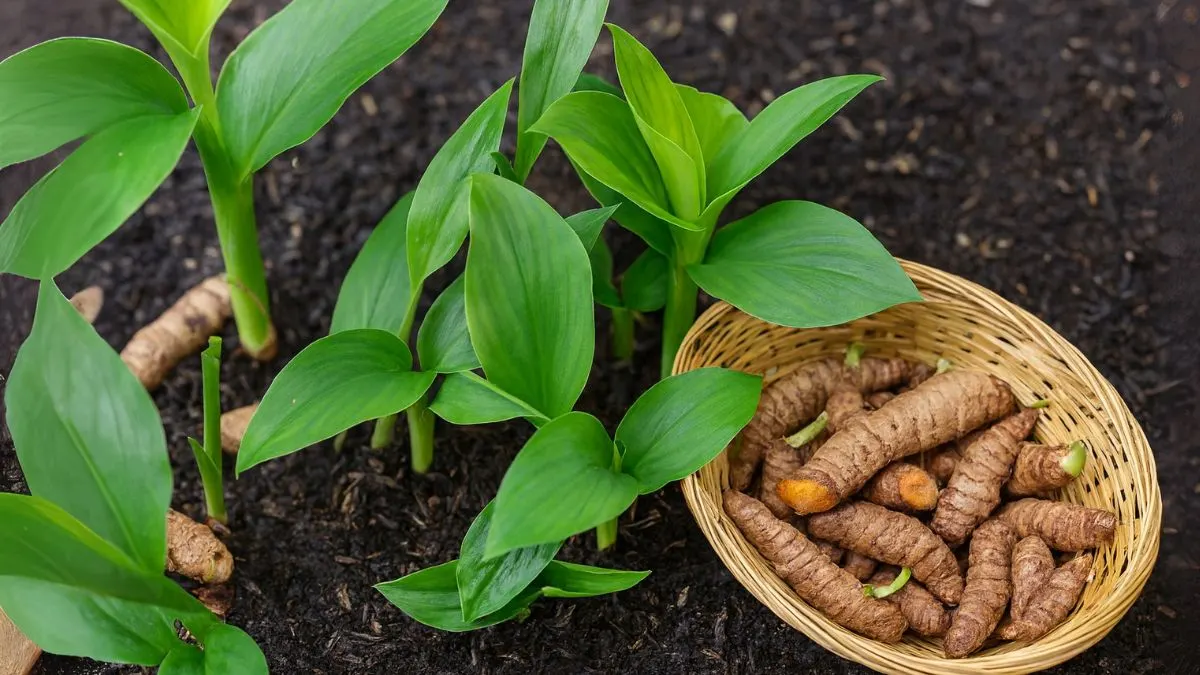
Turmeric doesn’t grow from seeds. Instead, it grows from rhizomes—the underground stems that look like ginger. To begin, always cut or break rhizomes into pieces, each with a few nodes. These nodes are the small buds where new shoots will sprout.
For faster results, many gardeners like to spread an inch-thick layer in a shallow tray with drainage holes and place rhizomes inside with a light misting of water. This pre-sprouting method reduces the chance of rot and helps you spot the healthiest rhizomes before planting.
Step 2: Choosing the Right Container
Turmeric plants need space to grow. You can start small or go big depending on your home setup:
- For early stages, filled up small pots with organic potting soil halfway works well. Once shoots appear, you can transfer the strongest ones into a bigger pot.
- For mature plants, fill a container with rich, loamy soil that’s at least 18–20 inches deep and wide. This ensures enough room for roots to spread.
I usually begin with multiple smaller containers and then consolidate into a single large pot once growth is established. This way, only the healthiest rhizomes take up prime space.
Also Read: Why Gardeners Plant Garlic in September
Step 3: Preparing the Soil
Turmeric thrives in fertile soil. Always fill a container with rich, loamy soil to give it the nutrition it needs. The soil should be:
- Slightly acidic to neutral (pH 6–7)
- Moist but well-drained
- Enriched with compost or organic matter
Loamy soil prevents waterlogging while keeping roots healthy. Adding compost improves texture and boosts nutrient levels.
Step 4: Planting Rhizomes
Once your soil and pots are ready, it’s time to plant:
- Plant the rhizomes about 4–6 inches deep in the soil, spacing them 8–12 inches apart.
- Place the cut side down and nodes pointing upward.
- Cover with soil and water lightly.
Spacing is especially important in larger pots—it ensures that roots have enough room to grow without competing for nutrients.
Step 5: Sunlight Requirements
Turmeric loves warmth and moderate light. Indoors, it thrives when you place your container in a location that receives bright, indirect sunlight.
Direct sunlight can scorch the leaves, so a south-facing or east-facing window works best. If your home doesn’t get enough natural light, supplement with a grow light for 6–8 hours a day.
Also Read: Wild Lettuce: Nature’s Calm Healer and Wart Fighter
Step 6: Watering and Humidity
Water is important, but overwatering is the most common mistake. Turmeric likes moisture but hates soggy soil. Keep the soil consistently damp, not wet.
- Water deeply once the top inch feels dry.
- Ensure proper drainage through holes in the pot.
- Mist the leaves occasionally to maintain humidity—especially important during dry winters in North America.
This balance prevents rot while keeping the plant hydrated.
Step 7: Fertilization
Turmeric is a slow-growing crop, taking 8–10 months to mature. To support its growth:
- At planting time, enrich the soil with compost or use a mild organic fertilizer.
- Once plants start producing leaves, feed them monthly with a liquid fertilizer high in potassium.
- Avoid over-fertilizing, as too much nitrogen can encourage leaves at the expense of rhizomes.
Step 8: Harvesting Your Golden Root
Turmeric takes patience. After about 8–10 months, the leaves will begin turning yellow and dry. That’s your signal—it’s harvest time.
- Gently dig into the soil and lift the rhizomes.
- Wash them clean and set aside some pieces with nodes for replanting.
- Fresh turmeric can be stored in the fridge, dried into powder, or even frozen for long-term use.
From a single container, you can often harvest enough to last you months.
Quick Reference Table
Step |
Action |
Why It’s Important |
Rhizome Prep |
Cut or break rhizomes into pieces with nodes |
Ensures strong shoot development |
Pre-Sprout |
Spread an inch-thick layer in a shallow tray with drainage holes |
Encourages faster sprouting |
Soil |
Fill a container with rich, loamy soil |
Provides nutrients & drainage |
Planting |
Plant rhizomes about 4–6 inches deep, spacing 8–12 inches apart |
Healthy root establishment |
Light |
Place your container in a location that receives bright, indirect sunlight |
Prevents leaf burn & supports growth |
Watering |
Keep soil moist, not soggy |
Prevents rot |
Harvest |
8–10 months after planting |
Get fresh turmeric |
Personal Experience Growing Turmeric Indoors
The first time I tried growing turmeric, I underestimated how much space it needed. I began with tiny pots, and the shoots quickly outgrew them. After transferring into one large container filled with rich, loamy soil and placing it near my kitchen window for bright, indirect sunlight, the plants thrived.
Months later, when the leaves started turning yellow, I carefully harvested the rhizomes. The aroma of fresh turmeric was richer than any store-bought powder. That experience convinced me to keep a turmeric plant indoors year-round.
Also Read: Grow Big Basil in a Pot – Step-by-Step Guide for a Lush Harvest
Common Mistakes to Avoid
- Planting too shallow or too deep—stick to the 4–6 inch depth.
- Overwatering—moisture is good, soggy soil is not.
- Insufficient light—turmeric won’t thrive in dark corners.
- Forgetting spacing—always space them 8–12 inches apart.
Growing turmeric indoors isn’t just possible—it’s surprisingly easy and rewarding. With the right preparation—cut or break rhizomes into pieces with nodes, spread an inch-thick layer in a shallow tray with drainage holes, and fill a container with rich, loamy soil—you set the foundation for healthy plants. Make sure to plant rhizomes about 4–6 inches deep in the soil, spacing them 8–12 inches apart, and always place your container in a location that receives bright, indirect sunlight.
With patience and care, you’ll enjoy fresh turmeric within months, adding both beauty to your indoor garden and flavor to your meals.
👉 So, why buy turmeric powder when you can grow golden roots in your own home? Start small today, and soon you’ll have a self-sustaining supply of this incredible spice.


