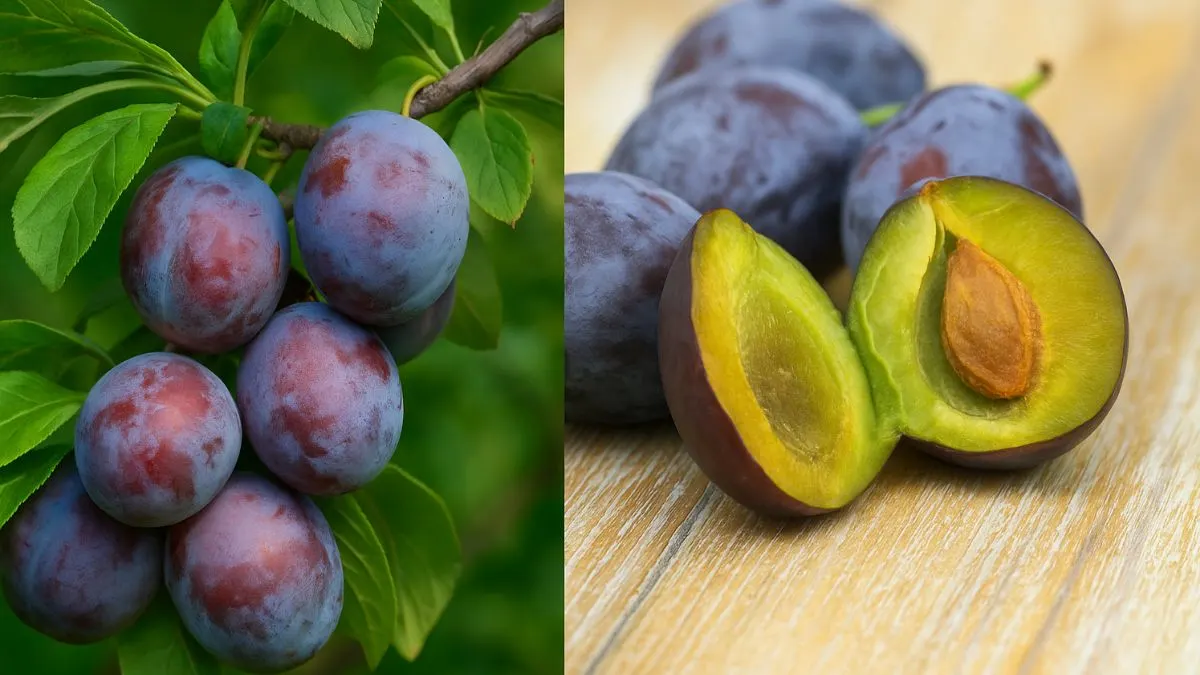
Plums are sweet, juicy, and versatile—you can enjoy them fresh, make jams, bake pies, or even turn them into wine. But beyond eating, there’s something magical about starting your very own plum tree from scratch. Unlike buying a nursery sapling, growing from seed gives you the full experience of nurturing life from the very beginning.
When I planted my first plum pit, I wasn’t sure if it would work. But watching the tiny sprout emerge after weeks of care felt like a mix of science experiment and gardening miracle. If you’re ready to try this rewarding project, here’s your step-by-step guide.
Step 1: Harvest and Prepare the Plum Seeds
Start with ripe, healthy plums. After enjoying the fruit, clean the pit thoroughly to remove any flesh.
- First, harvest the seed from the plum’s pit and let it germinate in the fridge over the winter. This process is called cold stratification—it mimics how seeds sprout naturally after a long, cold season.
- Before refrigeration, place the pit in a bucket of water and see if it stays afloat or sinks. Seeds that sink are generally viable, while floaters are less likely to grow.
- To speed things up, remember that plum seeds need removed from the hard outer shell. You can carefully crack it open with a nutcracker or pliers. Just be gentle to avoid damaging the seed inside.
This preparation step makes all the difference between a sprout in weeks versus months.
Step 2: Germinating the Seed
Once the seed is free from its shell, it’s time to encourage germination.
- Place the viable seeds inside a fold of moist paper towel to germinate.
- Put the paper towel in a sealed plastic bag.
- Refrigerate for 6–8 weeks, checking occasionally to ensure it stays moist (not soggy).
Over time, tiny roots will begin to appear. That’s your signal—it’s time to move the seed into soil.
Also Read: Weeds: Nature’s Free Soil Test in Your Garden
Step 3: Planting Plum Seeds in Pots
To give your seed the best start, begin indoors in small containers.
- Use a well-draining potting mix enriched with compost.
- Plant the seed 2 inches deep.
- Water lightly—keep the soil moist but never waterlogged.
Young seedlings love warmth and protection, so place the pot somewhere with indirect light until the plant strengthens.
Step 4: Choosing the Perfect Spot Outdoors
When your seedling is sturdy enough, it’s time to think about a permanent home. Remember, plums need full sun and well-drained, sandy soil to thrive.
- Ensure your planting area gets at least 6–8 hours of direct sunlight daily.
- Sandy soil ensures roots don’t sit in water, which prevents rot.
- If your garden soil is clay-heavy, amend it with sand and compost or use raised beds.
The right growing conditions are critical. Poor soil or shade will slow down growth and reduce your chances of fruiting.
Step 5: Caring for Your Plum Tree
Once planted, your young plum tree will need consistent care.
- Watering: Keep the soil moist, especially during dry periods.
- Fertilizing: In spring, apply a balanced fertilizer to encourage strong growth.
- Mulching: A layer of mulch helps retain moisture and suppress weeds.
Like any fruit tree, patience is required. Plum trees grown from seed usually take 3–6 years before producing fruit, but the wait is worth it.
Also Read: Yarrow: Nature’s Hidden Healing Herb
Step 6: Transplanting Outdoors
If you started in a pot, you’ll eventually need to move your plum tree outside.
- Dig a hole twice the width of the root ball.
- Place the tree inside, ensuring roots are spread naturally.
- Refill with soil, water deeply, and mulch around the base.
- Maintain spacing of 10–15 feet between trees to give them room to grow.
With time, your seedling will transform into a sturdy tree ready to bear fruit.
Step 7: Troubleshooting Common Problems
Even with care, you might face challenges. Here are quick fixes:
Problem |
Likely Cause |
Solution |
No sprouting |
Incomplete cold stratification |
Ensure seeds stay refrigerated 6–8 weeks |
Yellowing leaves |
Poor drainage |
Improve soil with sand and compost |
No fruit after years |
Tree is still too young |
Wait 3–6 years before expecting harvests |
Personal Gardening Experience
When I first tried, I skipped cracking open the shell and waited months with no sprout. The next time, I cracked the seed gently, placed the viable seeds inside a fold of moist paper towel to germinate, and kept them refrigerated. In just a few weeks, a tiny root appeared. Watching it grow into a sapling was one of my proudest gardening achievements.
Also Read: Lantanas Watering Secrets: Keep These Colorful Blooms Thriving All Summer
Growing plums from seed is slow, but it’s an incredible journey. With patience and proper care, you’ll one day enjoy fresh, homegrown plums from a tree you raised yourself. And trust me, that first bite of fruit will be worth every season of waiting.
👉 Ready to start? Save that plum pit today and take the first step toward growing your own tree!


