Healthy soil equals healthy plants—and composting is the easiest, most natural way to achieve it. When I started gardening in Canada, my backyard soil was heavy clay. Plants struggled, no matter how much fertilizer I added. The game-changer? Composting. Within months, my vegetables looked stronger, flowers bloomed longer, and watering needs reduced.
That’s the beauty of compost. It turns kitchen scraps and yard waste into black gold for your plants. And you don’t need fancy equipment to get started—just patience and a few smart practices. Let’s dive into 10 composting tips every gardener, whether in the USA, Canada, or anywhere in the world, should know.
Tip 1: Balance Greens and Browns
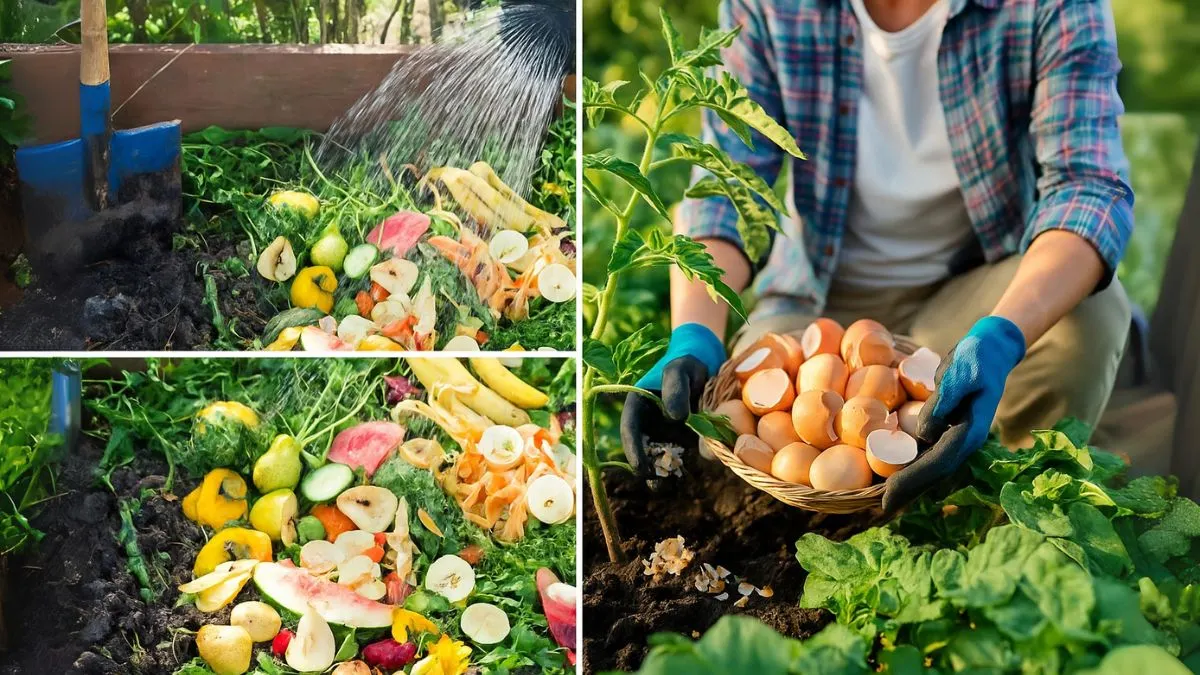
The backbone of composting is balancing “greens” (nitrogen-rich materials) and “browns” (carbon-rich materials). Greens include fruit scraps, vegetable peels, coffee grounds, and grass clippings. Browns include dry leaves, cardboard, straw, and sawdust.
The golden rule? Roughly three parts browns to one part greens. This ratio ensures your compost doesn’t turn slimy or smell bad, while also speeding up the breakdown process.
Tip 2: Choose the Right Spot
Convenience is everything when it comes to composting. Choose a space in your yard for your compost pile that is easily accessible year-round. If it’s too far from your garden or kitchen, you’ll avoid it on busy days.
Also, place your pile in the shade, out of hot sun and drying winds. Too much direct sunlight dries it out, while wind blows away lighter materials. I placed mine under a maple tree close to my vegetable patch—easy to reach, naturally shaded, and out of the wind.
Tip 3: Manage Moisture and Airflow
Think of compost as a living organism. Without air and water, it can’t function. That’s why ensuring proper moisture and aeration, and occasionally turning the pile is crucial.
The pile should feel like a damp sponge. If it’s too dry, decomposition slows; if it’s soggy, it smells. Every couple of weeks, turn the pile with a garden fork to add oxygen and keep microbes happy. This simple step can cut composting time in half.
Tip 4: Speed Things Up with Shredding
One overlooked trick is to break down big pieces before adding them. Large branches or whole leaves can take forever. Instead, use a lawnmower to shred your compost materials like autumn leaves, stalks, and weeds.
The difference is night and day. Smaller particles expose more surface area, making it easier for microbes to work faster. My autumn leaf compost used to take 9 months; once I started shredding, it finished in just 4 months.
Also Read: Why Gardeners Plant Garlic in September
Tip 5: Don’t Be Afraid of Weeds
Gardeners often ask: should I add weeds? The answer: yes! You can put most weeds into the compost. The key is to avoid weeds that have gone to seed or invasive roots like bindweed.
If you’re worried, simply solarize them first. Place weeds in a black plastic bag under direct sunlight for a week. This kills seeds and roots, making them safe for your pile.
Tip 6: Layer for Success
Composting is a lot like cooking. To make it work, you need layers. Always start with a brown layer at the bottom to improve airflow, then alternate layers of greens and browns.
This structured method keeps your pile balanced, prevents bad odors, and ensures efficient breakdown. I call it my “lasagna pile,” and it never fails to produce crumbly, earthy compost.
Tip 7: Size Matters
If your compost pile is too small, it won’t heat up enough. Too large, and it becomes difficult to manage. The sweet spot is at least 3 feet wide, long, and tall—roughly a cube.
This size allows the pile to generate heat (between 135°F and 160°F), which kills pathogens and speeds up decomposition. Anything smaller may not deliver the same results.
Tip 8: Invest in Simple Tools
You don’t need expensive gadgets, but a few tools make composting easier. A sturdy garden fork for turning, a bin if you prefer a neater setup, and a compost thermometer to check heat levels.
A thermometer might sound over the top, but it tells you whether your pile is “cooking” properly. Once I started monitoring temperature, I knew exactly when to turn the pile.
Also Read: 8 Simple Ways to Supercharge Your Soil
Tip 9: Have Patience
Modern life teaches us to want quick results. But composting takes time—usually 3 to 6 months, depending on your method and climate.
The reward is worth the wait. When the compost is ready, it will be dark, crumbly, and smell earthy. If it still looks like food scraps, give it more time. Trust me, the first time you scoop out finished compost feels like striking gold.
Tip 10: Put Compost to Work
Once finished, compost can be used in countless ways. Mix it into garden beds, spread it around trees, use it as mulch, or even brew compost tea for liquid fertilizer.
When I added my first batch of compost to my tomato patch, the results were immediate—lush leaves, bigger fruits, and healthier soil structure. Since then, I’ve never looked back.
Composting Made Simple
Composting Tip |
Why It Works |
Extra Note |
Balancing “greens” and “browns” |
Speeds decomposition, prevents odor |
Aim for 3:1 ratio |
Place your pile in the shade |
Maintains moisture |
Avoid strong winds |
Ensuring proper moisture and aeration |
Creates the right microbe environment |
Pile = damp sponge |
Occasionally turning the pile |
Adds oxygen, prevents bad smell |
Every 2 weeks |
Use a lawnmower to shred compost materials |
Breaks down faster |
Great for autumn leaves |
You can put most weeds into the compost |
Adds organic matter |
Avoid seeding weeds |
Also Read: Grass Clippings: Turning Lawn Waste into Garden Gold
At its core, composting is about giving back to the earth. These 10 composting tips, from balancing greens and browns to placing your pile in the shade out of hot sun and drying winds, make the process simple and effective.
Remember: keep it moist, keep it aerated, and keep it consistent. Whether you’re a beginner gardener or have years of experience, composting will always be your garden’s secret weapon.
Start small today, and soon you’ll be amazed at how food scraps and yard waste transform into the richest, most natural fertilizer your plants could ever ask for.


